Double Sink Vanity Planning for Real Bathrooms, Not Showrooms
A double vanity can look balanced in a photograph and feel crowded the first morning two people use it. One person leans toward the mirror while the other opens a drawer, and skincare, toothbrushes, a phone, and a hand towel all need somewhere dry to land. The best double sink vanity ideas solve those ordinary moments before they worry about matching mirrors or statement hardware. The sink count gets all the attention, but the empty inches around the sinks are what make the bathroom work.
The BathGem's Blueprint
A double vanity is three layouts stacked on one wall.
- Start with the people. Place the two sink centerlines before choosing mirrors, sconces, or cabinet details.
- Protect the dry counter. The surface between and beside the bowls is where two people’s daily things have to land.
- Stack the other decisions onto those same axes. Drains and drawers live below. Mirrors, lighting, electrical boxes, and outlets live above.
- Choose visual weight last. Once the geometry works, decide how much color, grain, hardware, and cabinet detail the wall can carry.
The mistake is buying the cabinet first, then asking the rest of the bathroom to accommodate whatever geometry arrived with it.
Start With the Double Vanity Layout, Not the Cabinet

The best double vanity layout ideas begin with the room you'll have after installation, not the blank wall you have today. Six feet of open drywall doesn't automatically mean a 72-inch vanity belongs there. The cabinet projects into the room, drawers open, people stand in front of it, and the entry or shower door may need some of the same space. For finished rooms that got this balance right, browse our double vanity bathroom ideas.
Mark the finished front edge, including the countertop projection, rather than the cabinet box alone. A shallower vanity can recover standing room, but it can also shrink the basin, tighten faucet clearance, and reduce usable drawer depth. Check all three before treating reduced depth as free space.
At a side wall, ask your installer whether the cabinet needs a filler strip so its doors, drawer fronts, and pulls can open freely. Include any filler in the total width before ordering, because a cabinet exactly as wide as the opening may not function there.
Two people don't stand at a vanity like symbols on a floor plan. One leans toward the sink, another bends toward a lower drawer, and somebody may need to pass behind while a door swings nearby. A layout that only works when everyone stands still is too tight.
The 2024 International Residential Code sets model-code baselines of 30 inches between adjacent lavatory centerlines, 15 inches from a lavatory centerline to a side wall, partition, or vanity, and 21 inches in front. The NKBA’s publicly available bathroom planning guide recommends roomier targets of 36, 20, and 30 inches. Local requirements govern your project, so have your contractor or designer confirm the code adopted where you live.
| Measurement | 2024 IRC model-code baseline | NKBA public planning target | What the extra room changes |
|---|---|---|---|
| Between sink centerlines | 30 in. | 36 in. | More shoulder room and a more useful counter break |
| Sink centerline to side obstruction | 15 in. | 20 in. | Keeps one station from feeling pinched against a wall or tall cabinet |
| Clear space in front | 21 in. | 30 in. | Gives you room to lean, open drawers, and move past another person |
The ICC figures are model-code minimums. The linked NKBA document is an earlier public guide whose code references are based on the 2015 IRC, so use its larger numbers as planning targets rather than current legal requirements.
60 vs. 72 Inches: Let the Extra Foot Earn Its Place
A 60-inch double vanity is a useful starting point for many shared bathrooms, not a universal minimum. The sink centers, bowl widths, finished depth, dry counter, and surrounding clearance decide whether it works. Compare bathroom vanity sizes by the product drawing, not the number in the collection name.
A 72-inch vanity earns its extra foot when those inches become better sink separation, a wider dry counter, or a center drawer bank. We'd spend the extra width on those three things before upsizing the bowls.
If the extra 12 inches pinches the entry, crowds a shower door, or pushes one sink toward a side wall, the room needs that foot more than the cabinet does. For a primary bath used by two adults every day, circulation is worth more than vanity width for its own sake.
We'd choose a well-planned 60-inch vanity over a 72-inch cabinet that consumes movement space. If two bowls fit only by erasing useful counter and standing room, one generous sink may serve the shared bathroom better.
Choose a Sink Arrangement That Leaves Somewhere Dry

The useful comparison is not simply two bowls versus one. It's how much dry counter survives after the sink, faucet, and backsplash are installed.
| Sink idea | Best fit | Tradeoff to check | Our call |
|---|---|---|---|
| Two undermount bowls | Most shared primary bathrooms | Plumbing can interrupt drawers beneath both sinks | The safest first choice |
| One wide trough | A clean horizontal look with one continuous basin | A large cutout can consume most of the dry surface | Choose it for the exact basin, not the idea alone |
| Two vessel bowls | A sculptural, deliberately decorative vanity wall | Finished rim height, faucet reach, and lost landing space | Use only after checking the full vertical stack |
For most shared primary bathrooms, we'd start with two separate undermount bowls. They create clear personal stations, pair naturally with separate mirror zones, and preserve a center break for soap, skincare, a phone, or a folded hand towel. The rimless transition also lets you wipe water back into the basin instead of working around a raised edge.
When you compare a double sink bathroom vanity, look beyond the nominal cabinet width. Check the actual bowl positions, faucet drilling, counter margins, center storage, and interior plumbing allowances because two vanities with the same outside dimensions can live very differently.
Two Bowls Versus a Trough
Run a paper test before choosing either. On a hypothetical 60-inch top, two basins measuring 18 inches across leave 24 inches of total width outside the bowls, and that width is split among the left edge, the center, and the right edge rather than handed to you as one clear strip. A trough doesn't automatically do better: a wide basin can occupy most of the top, and two faucets don't guarantee two useful landing zones. Draw the actual bowl openings and faucet positions, then place your everyday items in what remains.
A trough can be the right call when its exact dimensions suit the wall and you want one continuous horizontal basin. We wouldn't choose one simply because a single basin sounds more space-efficient. If the trough consumes most of the top, you have traded separate bowls for less dry landing space.
Two vessel sinks add height and visual volume above an already long cabinet. Check the counter height, vessel height, faucet reach, handle clearance, and remaining landing space as one assembled system. A vessel that looks sculptural on an empty product page can feel awkward when the finished rim sits too high for the people using it.
Give the Storage Plan a Chance to Survive the Plumbing

Two sinks give you two grooming stations. They also put two plumbing zones inside the cabinet.
Drawer count is a poor proxy for useful double vanity storage. A generous-looking front can conceal a drawer box shaped around a drain, and some sink cabinets surrender far more interior volume than the elevation suggests.
Before ordering, photograph the existing rough-in and measure each drain and supply from a fixed side wall and the finished floor. A photo without dimensions becomes surprisingly unhelpful once the old cabinet is gone. Compare those locations with the proposed sink positions, drawer layout, and installation drawings. Moving from one basin to two can change the plumbing plan even when the replacement cabinet fits the same wall.
When you compare prices, ask for an itemized total covering the cabinet, top, both sinks, two faucets, two drain assemblies, and installation, then price any plumbing, wall-support, or electrical changes separately. Compare completed setups, not a cabinet-only price against a package that already includes the top.
Explore our Double Sink Bathroom Vanities

72" Double Sink Bathroom Vanity with Top in Chestnut - James Martin Marcello

66" Strada Double Bathroom Vanity in White with Brushed Nickel Trim by Wyndham

66" Strada Double Bathroom Vanity in Light Green with Matte Black Trim by Wyndham

66" Strada Double Bathroom Vanity in Light Green with Satin Bronze Trim & 58" Mirror by Wyndham


Use Three Storage Zones Instead of Mirroring Everything
The most useful storage plan usually has three zones: personal storage beneath or beside one sink, shared storage in the center, and personal storage at the other sink. The cabinet doesn't need identical storage behind every door to look balanced from across the room.
A center drawer bank can work especially well when the plumbing leaves that space available. It gives shared items a logical home while keeping each person’s daily products close to the appropriate basin.
If the hair dryer lives under one person’s sink, the other may spend every morning reaching across a wet counter or waiting for them to move. Storage is working when the routine feels obvious, not when every door front creates a mathematically matching grid.
Inspect interior product images, drawer dimensions, and installation drawings instead of assuming every visible drawer is full depth. The space behind the front matters more than the number of rectangles you can count in the photograph.
Floating and Freestanding Vanities Solve Different Problems
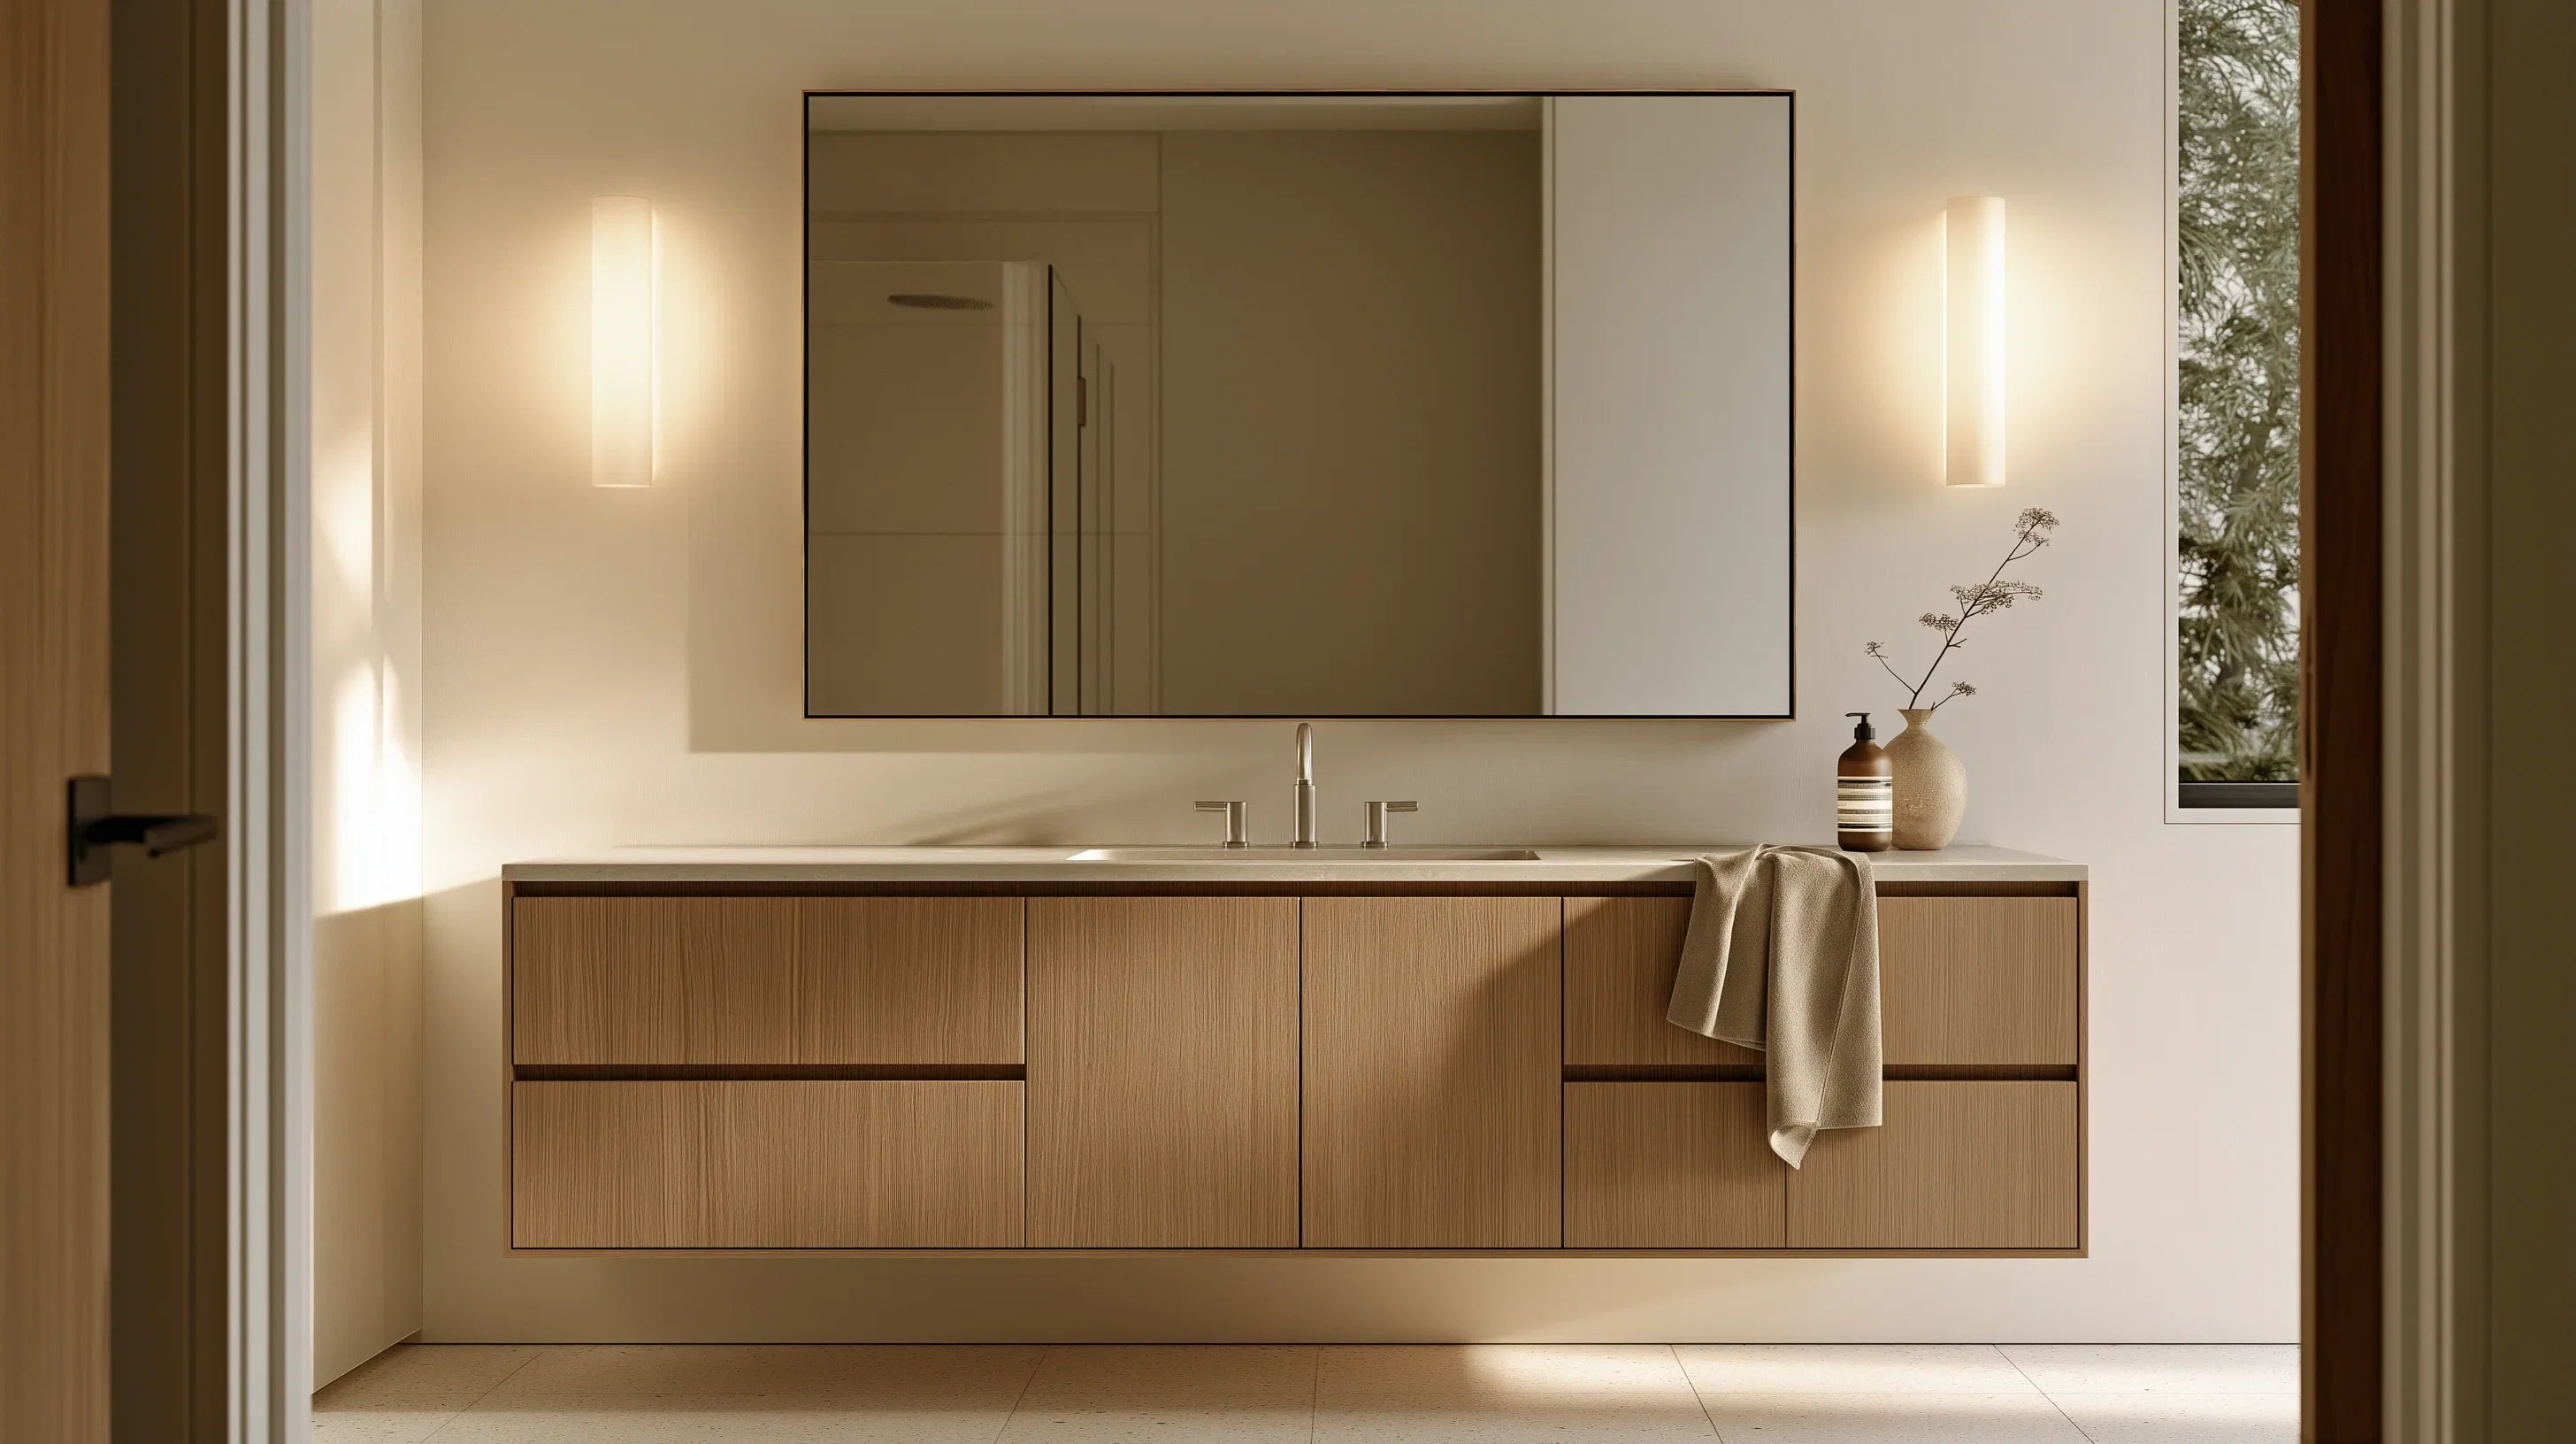
A floating double vanity can reduce the apparent weight of a long cabinet and expose more floor, which makes routine cleaning easier. The tradeoff sits behind the wall. The mounting system, blocking or structural support, plumbing placement, and countertop load all need to match the manufacturer’s instructions and the conditions of the room.
A freestanding vanity gives the wall a more furniture-like presence and may offer legs, a toe kick, or a full base. Check how that profile meets the floor and baseboard. A baseboard that was harmless behind the old cabinet can prevent a new vanity from sitting flush unless it's removed, returned, or carefully notched.
When the goal is to make a wide vanity feel visually lighter, compare modern bathroom vanities by mounting style, leg profile, and uninterrupted drawer lines rather than relying on the style label alone.
Build the Wall Above From the Sink Centerlines

The sink centers create the two vertical axes for the wall. Mirrors, sconces, outlets, medicine cabinets, and faucet locations should reinforce those axes or deliberately bridge them.
The common mistake is approving each object separately. Two mirrors, three sconces, and a full-height slab can all be right on their own and still become a crowded elevation when their real dimensions occupy the same strips of wall.
If either mirror is a recessed medicine cabinet, confirm the wall cavity before the elevation is final. Studs, vent lines, and wiring can turn a centered drawing into an off-center installation.
Use Two Mirrors When You Want Two Clear Stations
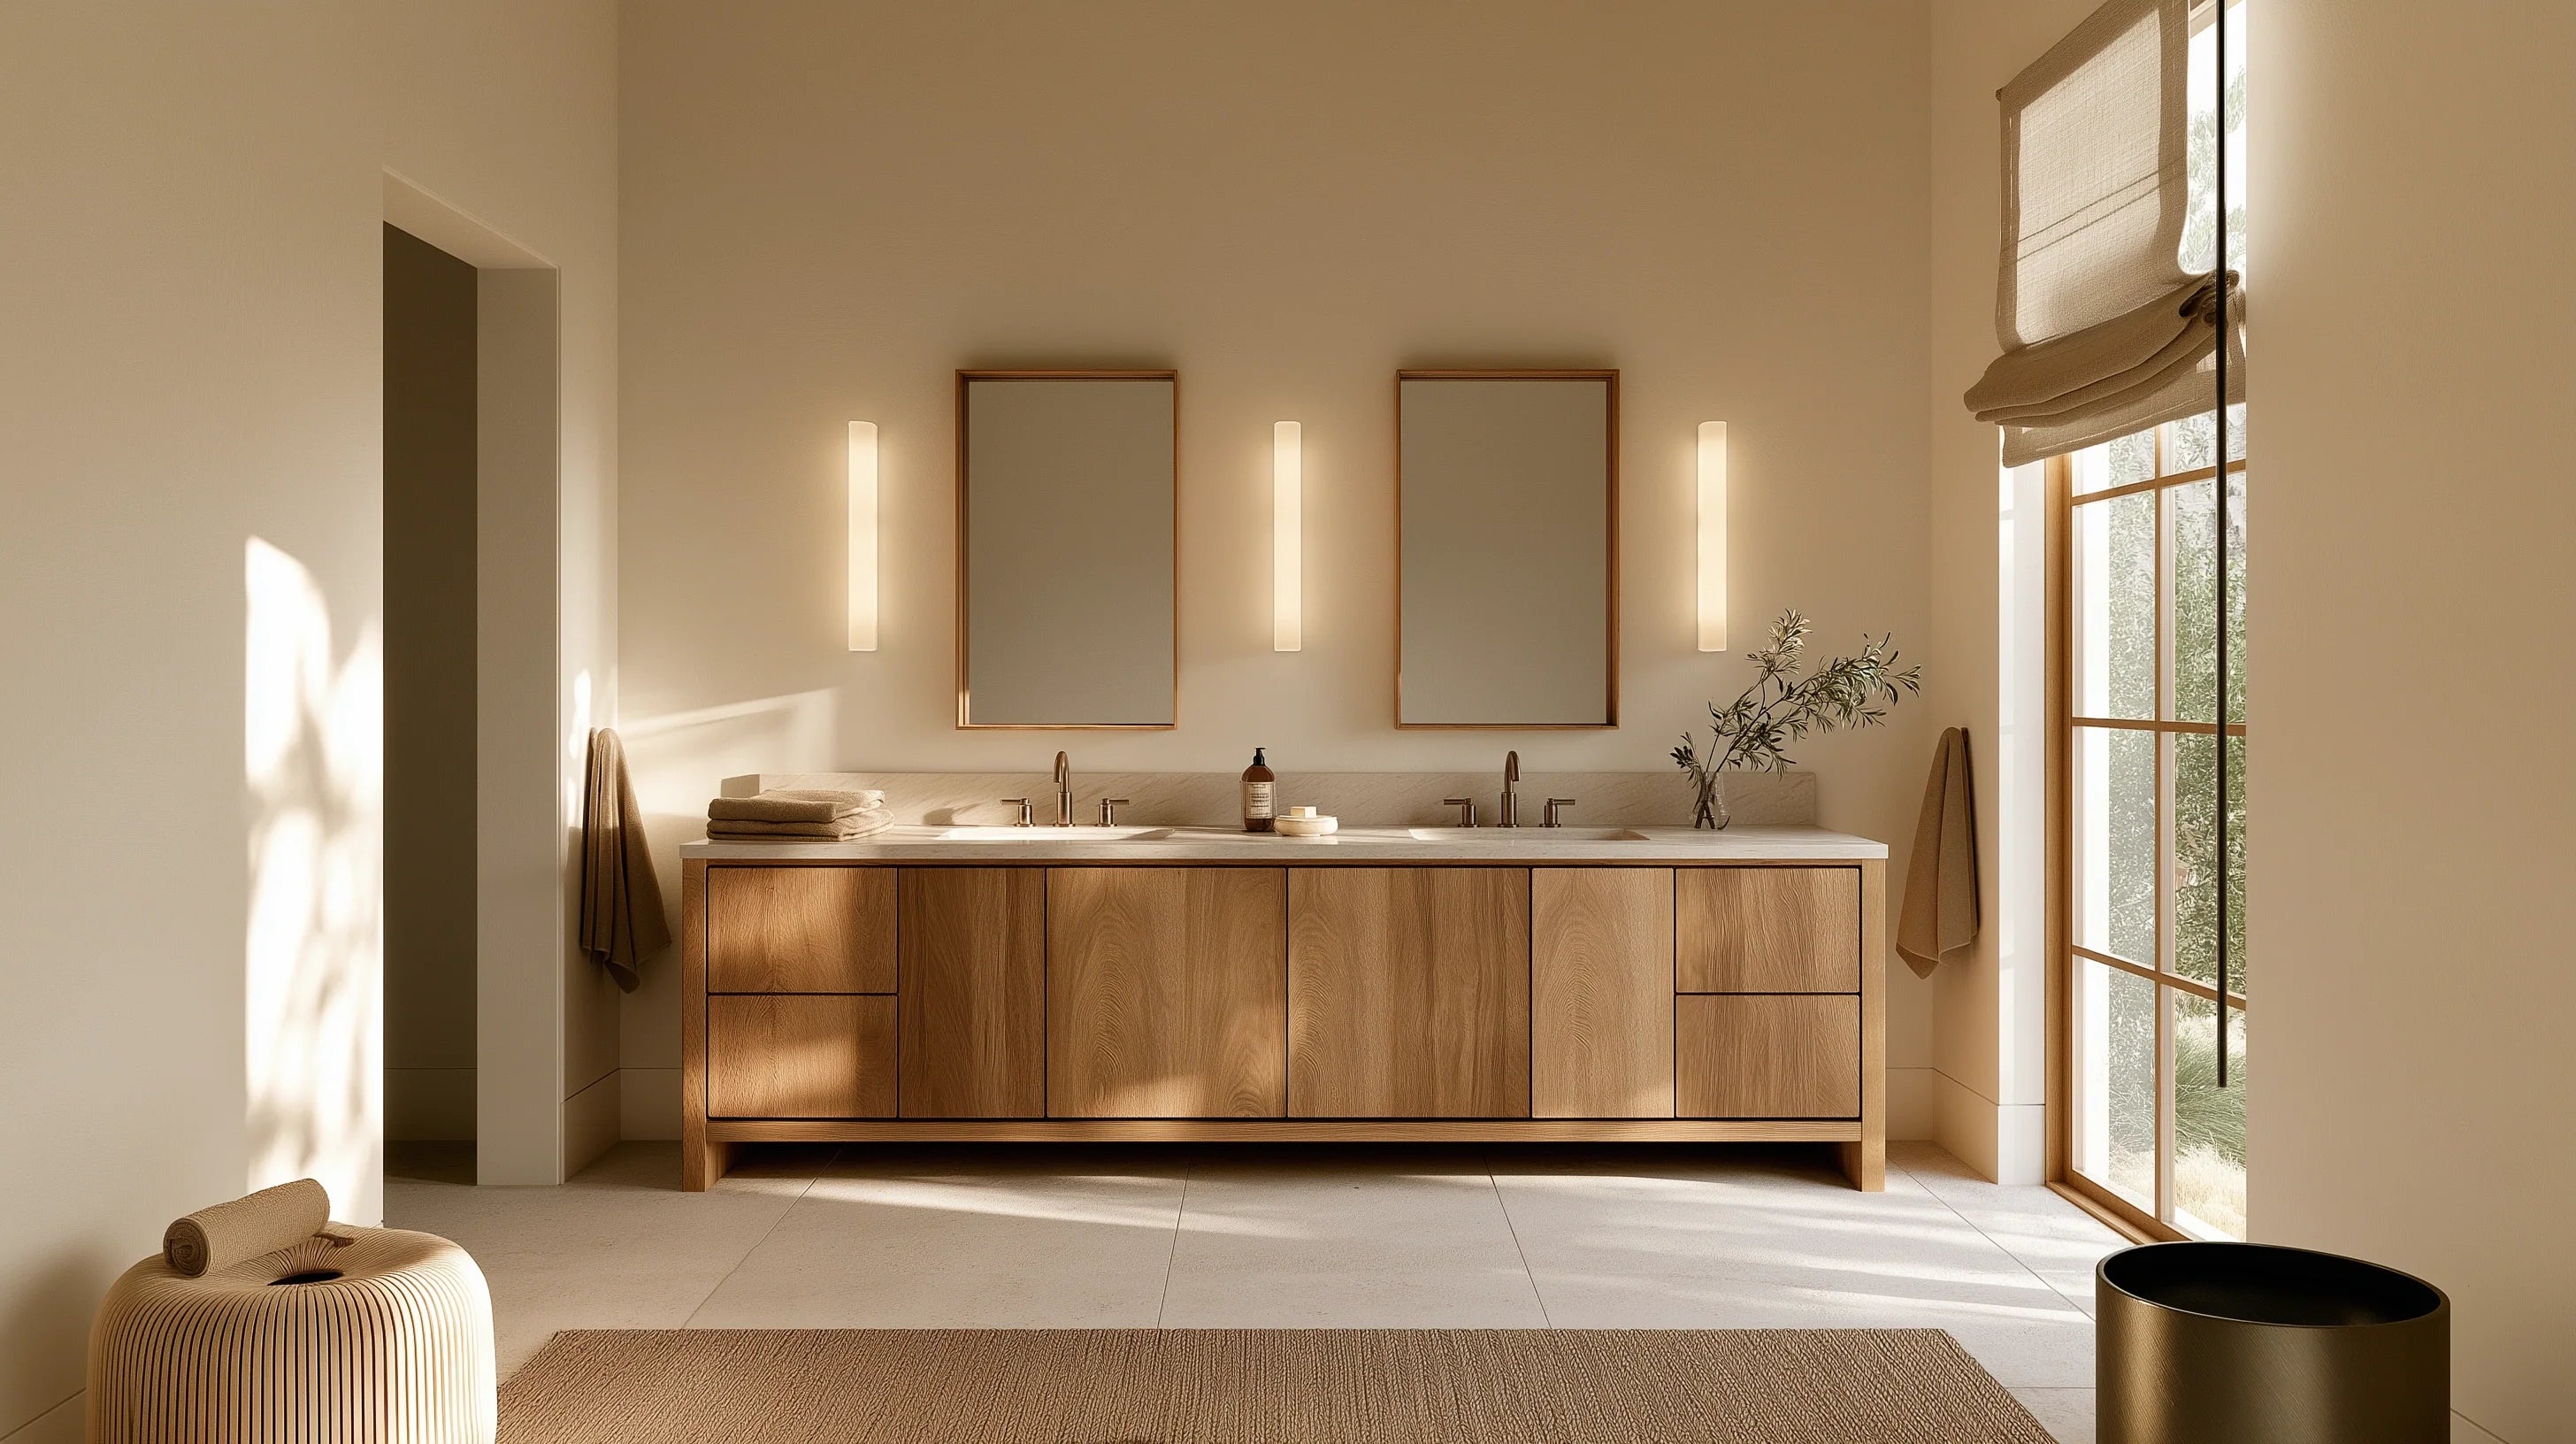
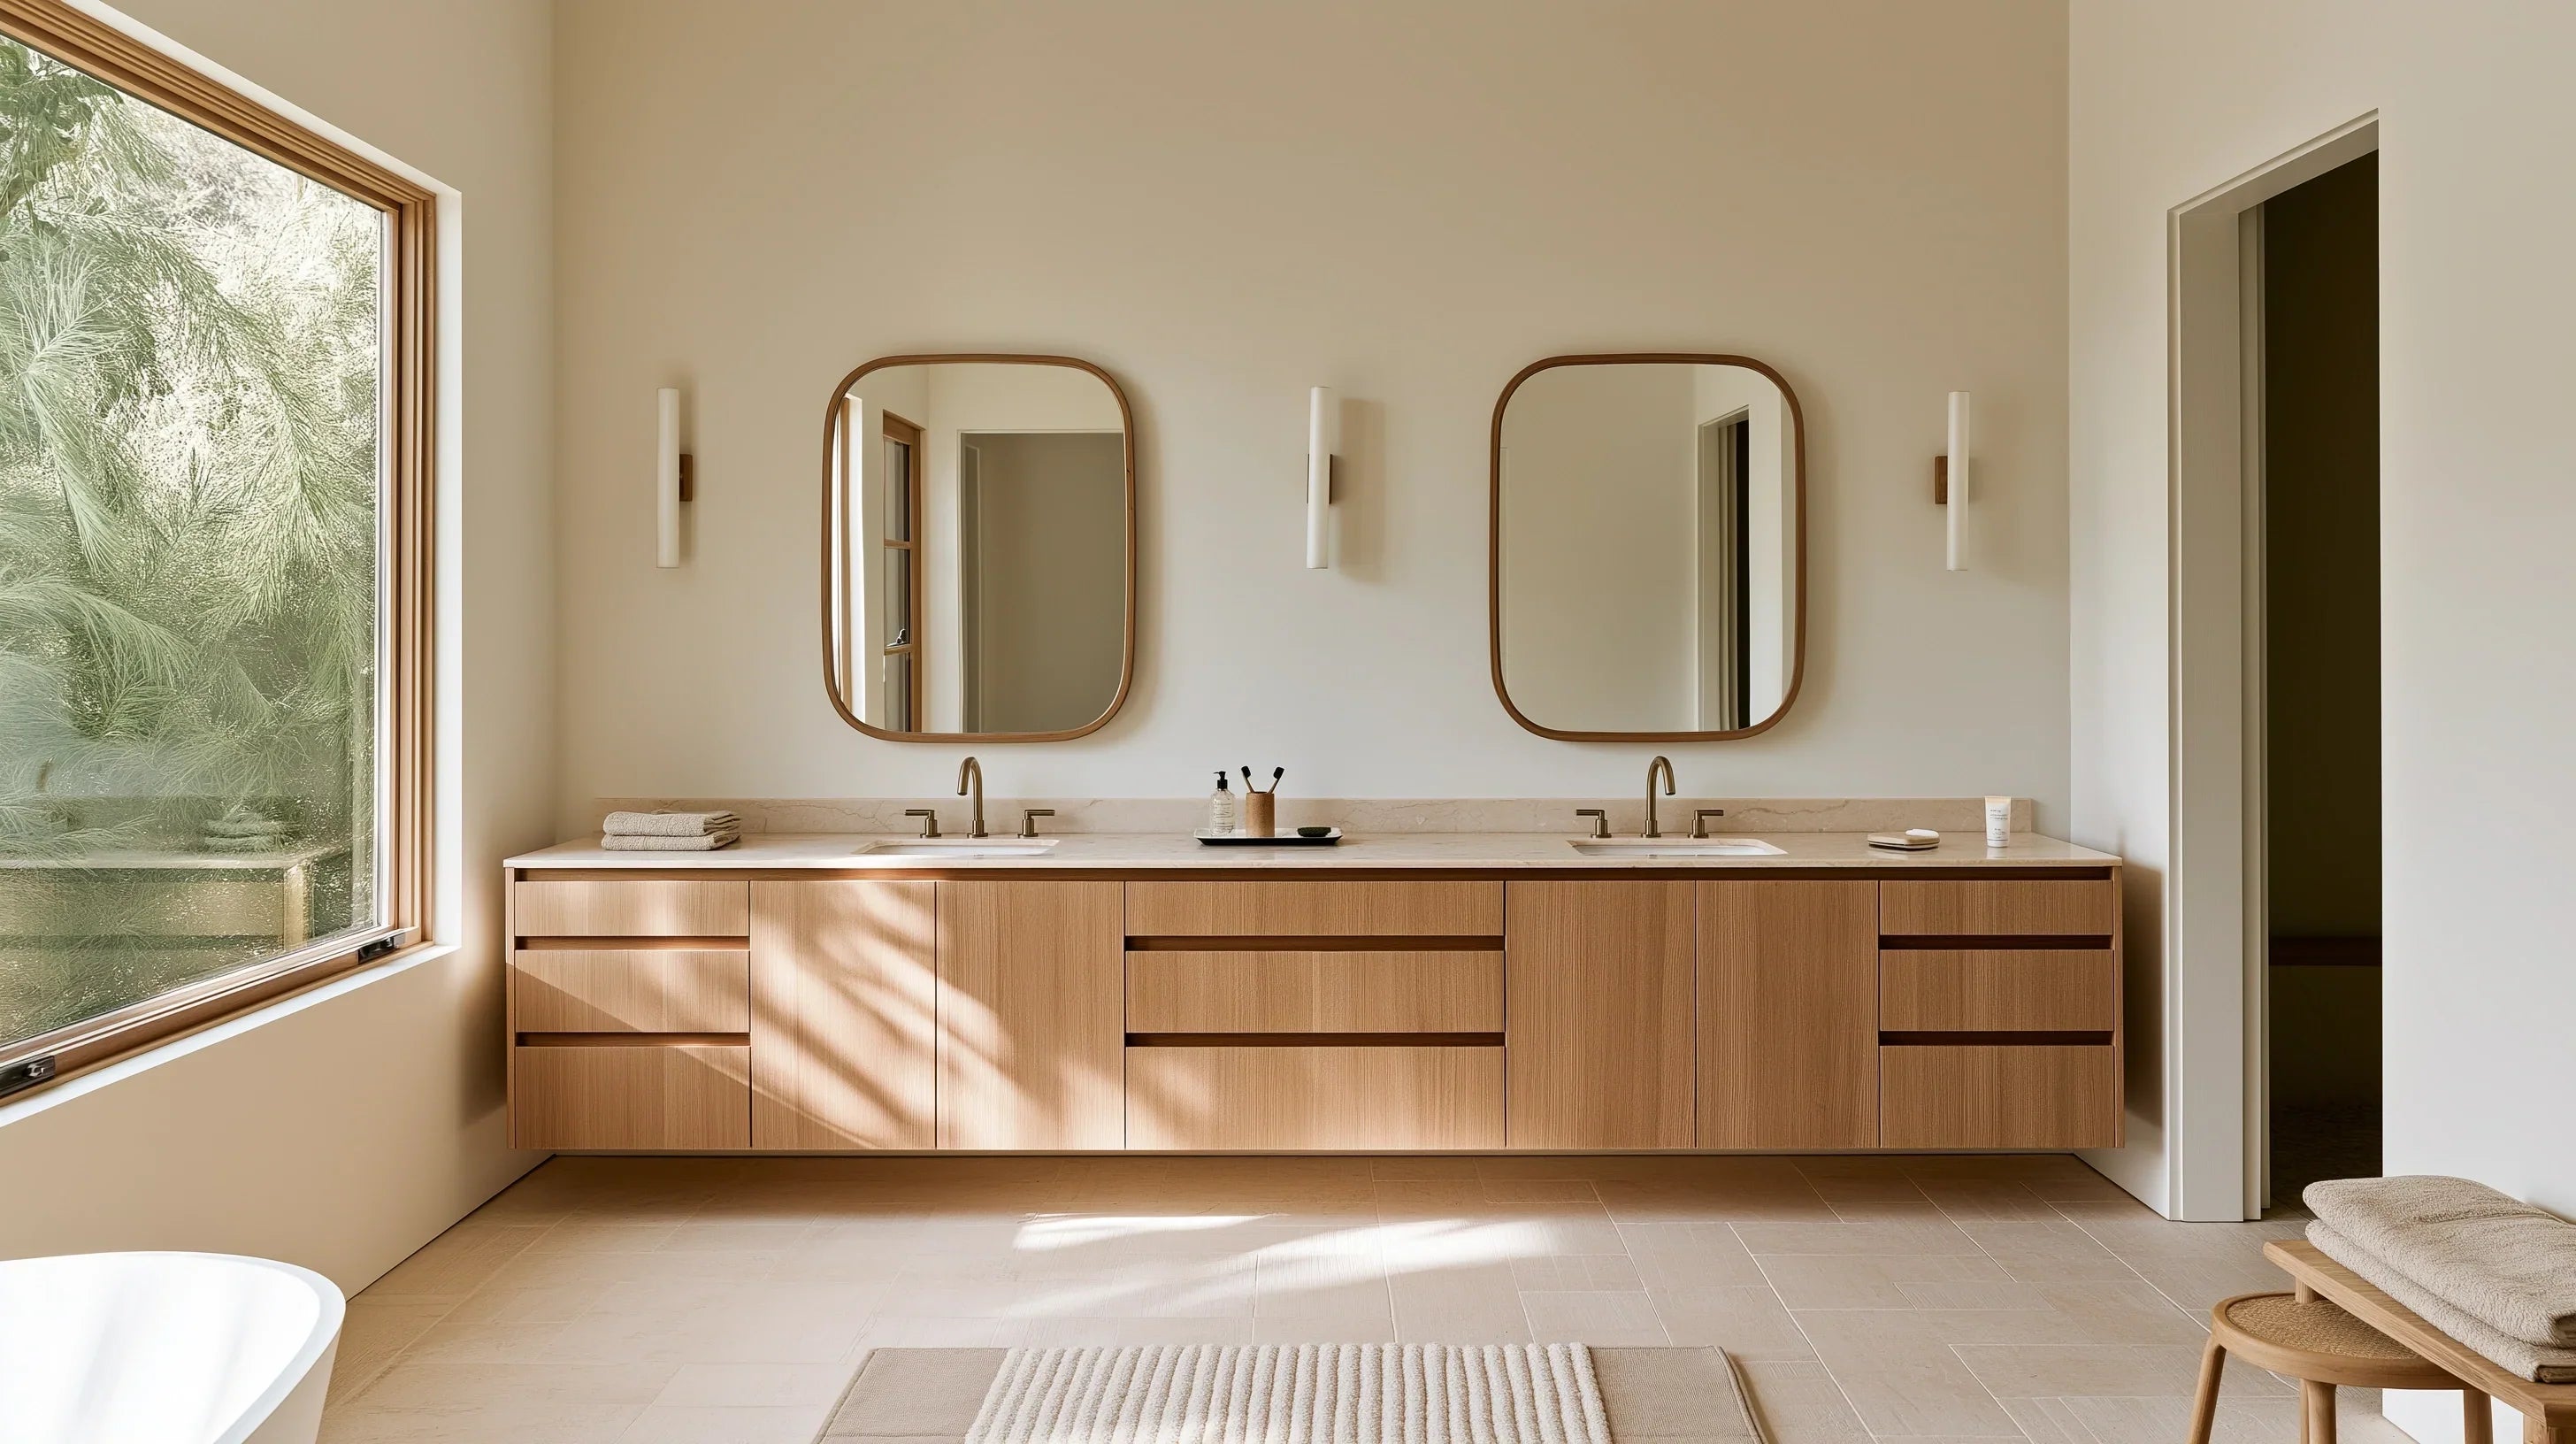
Two mirrors work when each basin reads as a distinct grooming station and the wall is wide enough to give both reflections useful proportions. The repeated shapes make the wall read as two stations even when the storage below isn't symmetrical.
We wouldn't choose two oversized decorative mirrors in isolation, then hope the remaining wall can take the sconces. Tape the outside dimensions of each mirror onto the wall before electrical rough-in, then add the actual sconce backplates to the mock-up.
Use One Wide Mirror When the Wall Is Already Busy
One broad mirror is often the smarter move when splitting the wall would leave two undersized reflections or force lighting into awkward gaps. It can also settle a vanity that already has two faucets, repeated drawer fronts, strong stone movement, and a long run of hardware.
If two mirrors create convincing stations and leave room for useful light, use two. If the wall starts feeling carved into leftovers, use one wide mirror.
Set the Backsplash Before You Lock the Mirror Height
A short backsplash, a tiled wall, and a slab carried higher behind the faucets each claim a different amount of vertical space. Decide which condition you're using before setting the mirror bottoms, outlets, or sconce boxes.
Also check faucet handle movement and cleaning access where the counter meets the wall. A mirror or slab placed too close to a widespread faucet can make the narrow space behind the handles difficult to wipe. Wall-mounted faucets need even earlier coordination because the rough-in becomes part of the elevation rather than an adjustment made at the countertop.
Light Faces First, Then Add the Mood
Solve the task light before the atmosphere. A soft ceiling fixture can make the room pleasant after dark, but it isn't automatically the light you want for shaving, makeup, or contact lenses.
We wouldn't design sconce spacing from one number copied from an inspiration post. The right location changes with mirror width, shade size, backplate, sink centerline, nearby casing, and the direction the fixture throws light. Choose the actual mirror and sconce first, then draw or tape their real dimensions onto the wall before locating electrical boxes.
On a generous wall, three slim sconces around two mirrors can feel balanced. On a tighter vanity, two mirrors plus three substantial fixtures can turn a calm wall into a row of competing objects, so we'd simplify the mirror or lighting plan before squeezing in another decorative piece.
Map the outlets at the same time. One person may charge a toothbrush while the other uses a hair dryer or shaver, and an illuminated mirror can add another electrical need. Let a licensed electrician confirm the locally adopted requirements and final receptacle locations.
Use Finish and Profile to Control Visual Weight

A 72-inch vanity is six feet of cabinet front, countertop, hardware, grain, and shadow. It isn't a small accent, even when every individual sample looks restrained.
That scale changes the finish decision. A color or grain that felt quiet on a sample door can become the dominant visual field once it runs across most of the wall.
Use a Lighter Finish When the Cabinet Already Carries the Room
We wouldn't make the blanket claim that white makes every bathroom look larger. Against pale tile and walls, a lighter cabinet carries less apparent weight, which helps when the vanity is wide or the countertop and mirrors already have a strong presence.
If that's the direction you want, compare white bathroom vanities by undertone as much as by door style. Cabinet white, countertop white, tile, grout, and wall paint all sit in the same view, so approve those whites together.
On a six-foot cabinet, two whites that barely disagreed on the sample board can start arguing across the whole wall.
Natural wood gives that six-foot run more texture. White oak brings visible grain and warmth without making the cabinet feel overly formal, while walnut gives the wall more depth and weight. We'd decide which surface should carry the room rather than asking the vanity, stone, tile, mirror, and lighting to make statements at the same volume.
Let the Cabinet Profile Get Quieter as the Wall Gets Busier
A double vanity can already contain two sinks, two faucets, multiple mirrors, several lights, repeated drawer fronts, stone veining, and a long run of hardware. You don't need every element competing for attention.
If the stone has strong movement or the lighting has a distinct silhouette, we'd usually calm the cabinet face. Flat fronts, restrained rails, consistent drawer lines, and simple pulls allow the wider piece to read as one composed object rather than a collection of small parts.
Check the Finish in Daylight and Under the Evening Sconces
Don't approve a wide cabinet finish under one kind of light. Place the actual vanity sample beside the countertop, tile, wall paint, and hardware, then look at the grouping in daylight and again under the lighting you expect to use after dark.
A crisp white may read warmer in the evening. Wood grain can become more prominent against a cool stone, while a dark vanity under weak overhead light may feel heavier than it did in a bright showroom photograph.
You aren't asking the finish to look identical all day. You're checking that you still like the relationships when the light changes.
Finish approval also includes the room’s moisture routine. If the mirror and walls stay damp long after a shower, we'd address ventilation before spending more on painted cabinetry or natural wood. A finish sample can't account for a wet towel resting against the same door edge every day.
Test the Double Vanity on the Floor Before You Buy It

You can learn a surprising amount about a double vanity with painter’s tape and ten minutes. This is the check we'd do before choosing between two widths that both seem plausible on paper.
The Ten-Minute Vanity Test
- Tape the proposed vanity width onto the floor or wall.
- Mark the finished front edge, including the countertop projection.
- Mark both sink centerlines.
- Have both regular users stand at those positions and lean toward the imaginary mirrors.
- Pretend to open the center and lower drawers while the other person stays at the sink.
- Open the bathroom door, shower door, linen cabinet, and anything else that moves through the same circulation zone.
Measure the Route to the Bathroom Too
The wall is only the final measurement. Check the clear opening of the doorway, hallway turns, stair landings, ceiling changes, and any shower glass that narrows the approach. Measure the opening with the door in place rather than relying on the nominal door size.
Confirm whether the vanity cabinet, countertop, backsplash, and sinks ship assembled or as separate pieces. Use the manufacturer’s packaged dimensions and weight information to plan the lift, the number of people required, and whether doors or trim need to be removed. Don't assume a large vanity will separate simply because that would make delivery easier.
Once the piece is in the room, an uneven floor or wall can still change the installation. Check the manufacturer’s instructions for leveling, shimming, wall attachment, and support before the cabinet arrives.
If you're comparing 60 and 72 inches, tape both footprints. Choose 72 when the extra foot becomes useful counter, separation, or storage. Choose 60 when those same inches belong to circulation.
A cabinet can fit the wall and fail the bathroom.
Before you order, make the room prove that two sinks work there. Mark the centers, finished depth, open drawers, door swing, and delivery path. If the width is still unresolved, our bathroom vanity sizes guide is the next useful step.
Frequently Asked Questions

Todd Harmon
Double vanities are proportion problems before they're finish problems. Todd’s point of view is to settle sink spacing, dry counter, storage, and face-level light first, then let the cabinet material carry the wall. With over two decades in e-commerce and product curation, Todd built BathGems on a simple idea: a bathroom should feel as collected and considered as the rest of the home. He sources every vanity and fixture in the BathGems catalog the way a designer pulls samples, weighing material, proportion, finish quality, and how a piece actually lives in a real room over time.