


60" Breckenridge Double Vanity in Whitewashed Oak by James Martin Vanities
Sale priceFrom $2,965.00
Regular price$4,492.00
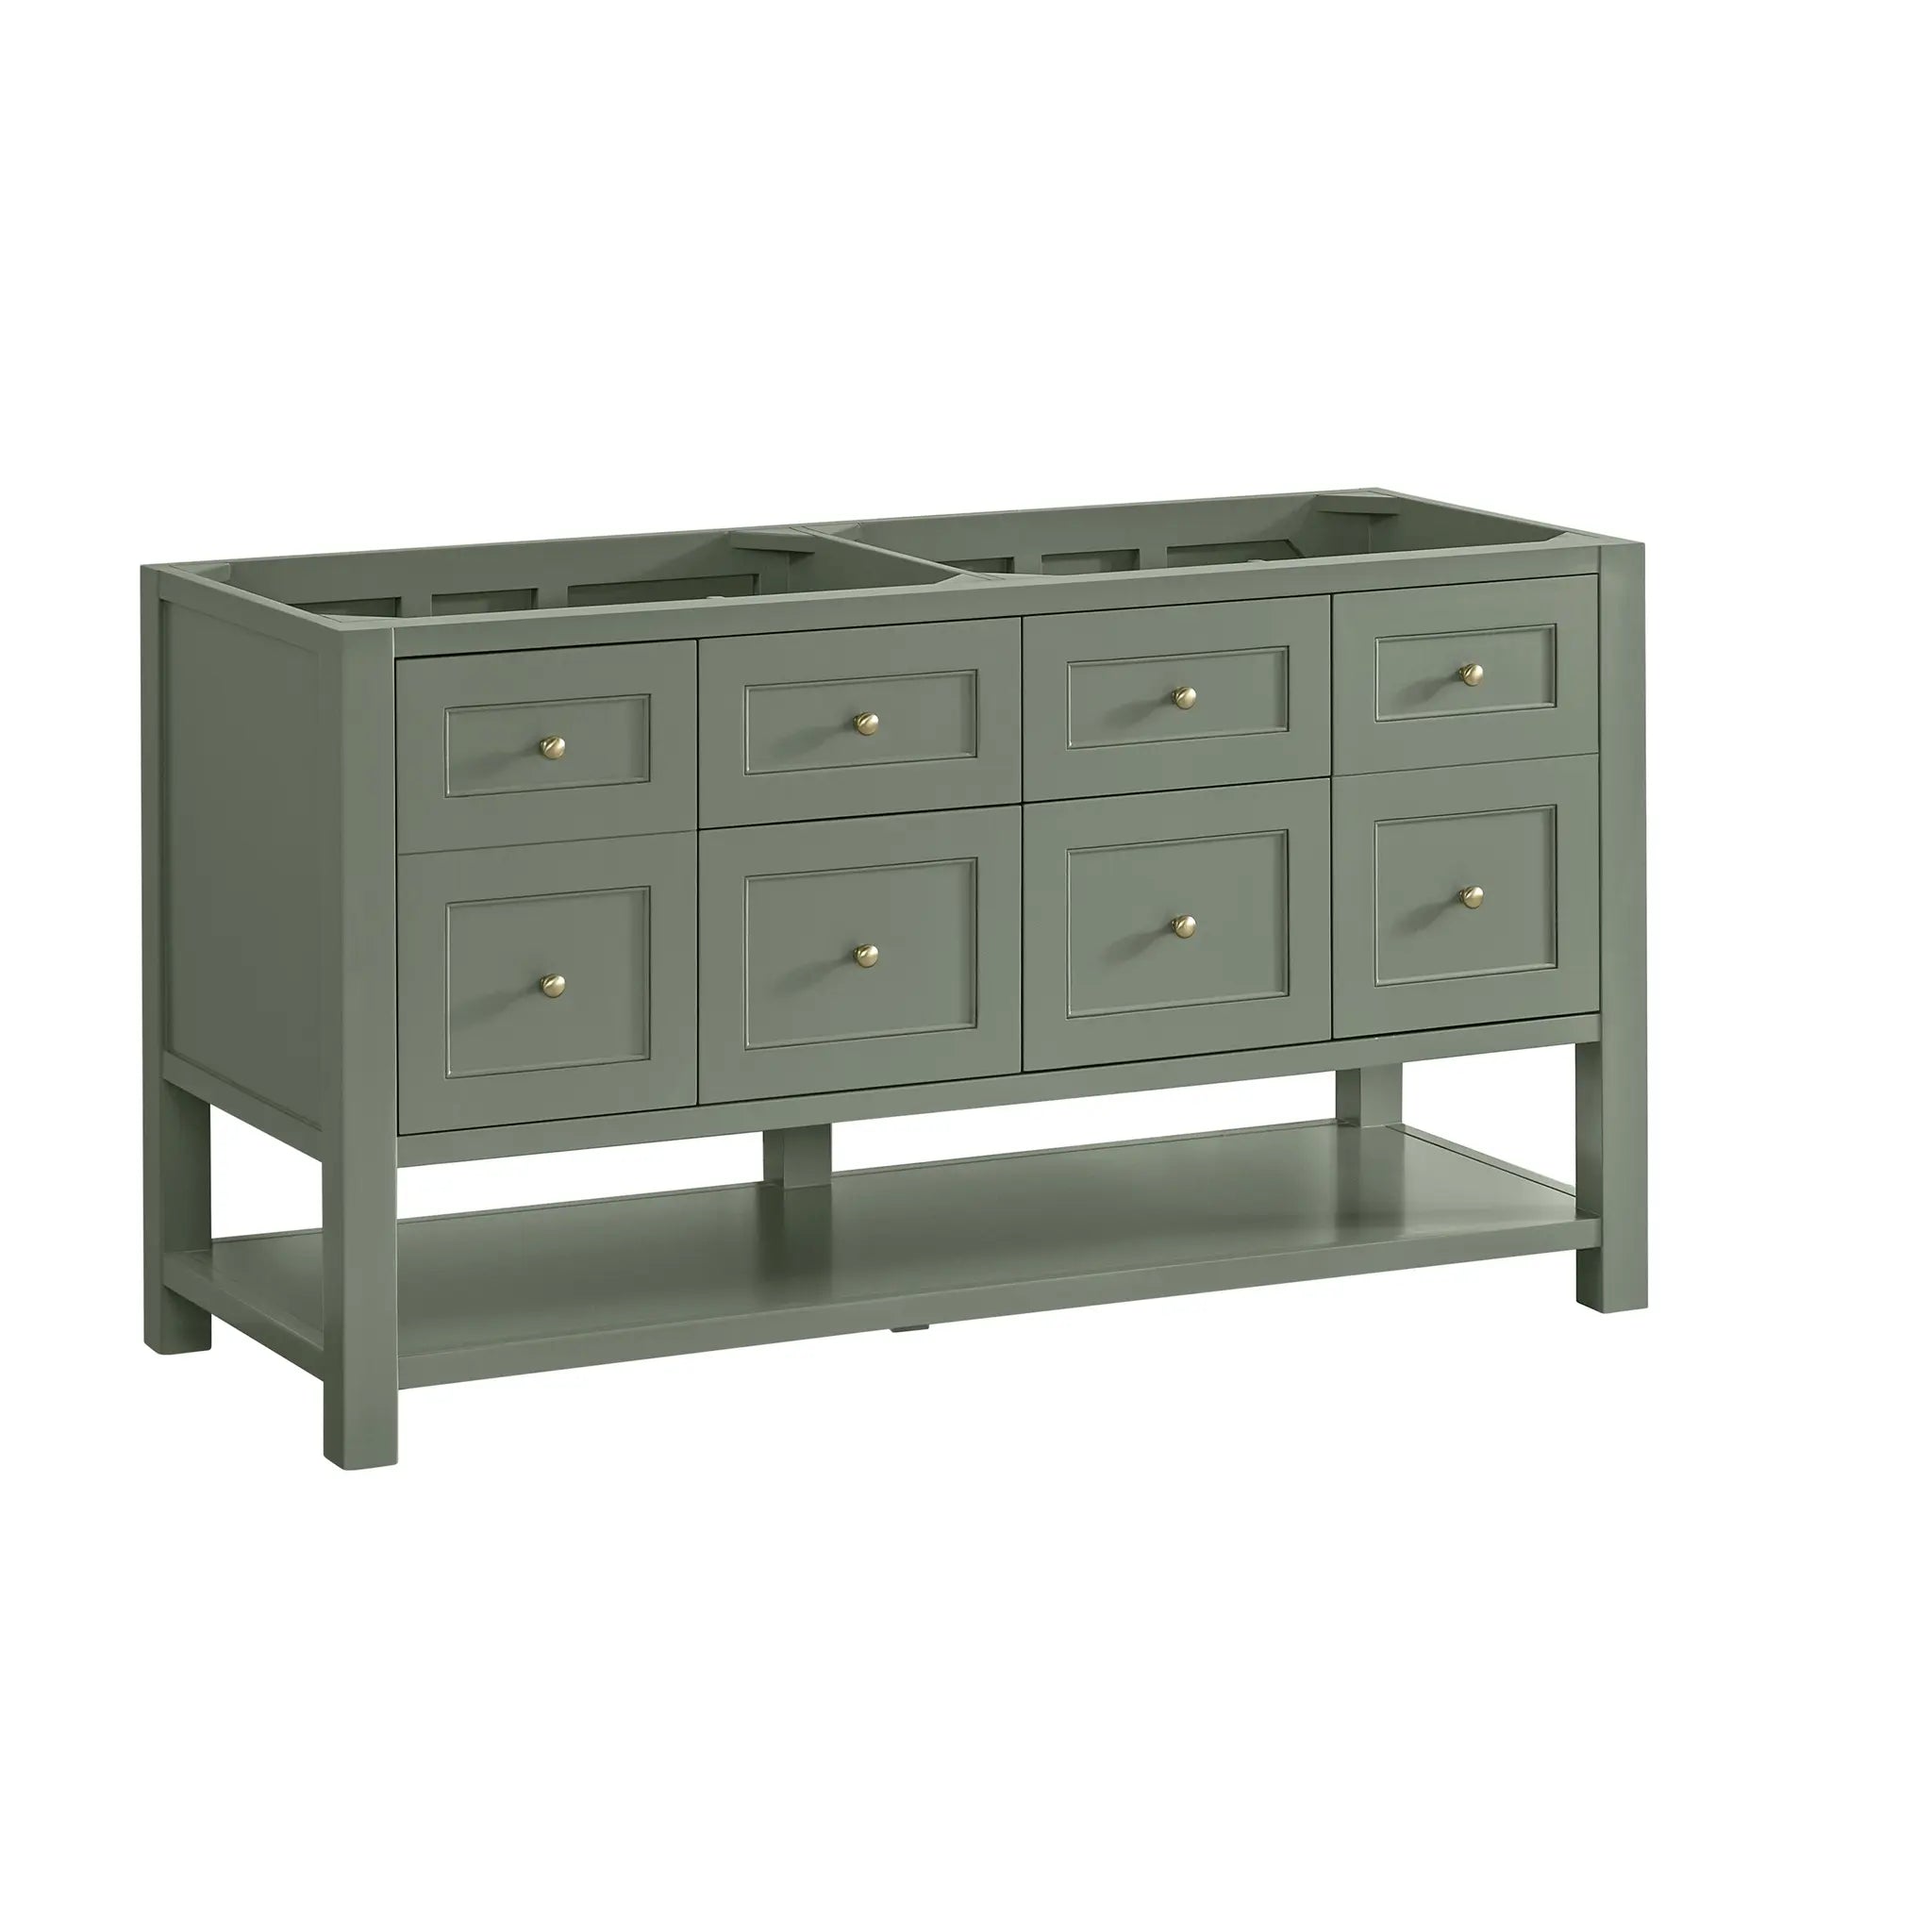

60" Breckenridge Double Vanity in Smokey Celadon by James Martin Vanities
Sale priceFrom $2,796.00
Regular price$4,237.00


60" Amberly Double Vanity in Mid-Century Walnut by James Martin Vanities
Sale priceFrom $2,505.00
Regular price$3,795.00


60" Double Sink Bathroom Vanity with Top in Pecan - James Martin Brittany
Sale priceFrom $4,253.00
Regular price$6,346.00


60" Brittany Double Vanity in Pecan by James Martin Vanities
Sale priceFrom $2,394.00
Regular price$3,529.00


60" Laurent Double Vanity in Honey Oak w/FreePower Wireless Charger by James Martin Vanities
Sale priceFrom $4,728.00
Regular price$7,047.00


60" Double Bathroom Vanity with Sink & Top in Honey Oak - James Martin Hudson
Sale priceFrom $4,408.00
Regular price$6,575.00


60" Hudson Double Vanity in Honey Oak by James Martin Vanities
Sale priceFrom $2,549.00
Regular price$3,758.00


60" Double Sink Bathroom Vanity with Wireless Charger in Whitewashed Oak - James Martin Breckenridge
Sale priceFrom $2,965.00
Regular price$4,492.00


60" Double Sink Bathroom Vanity in Whitewashed Walnut - James Martin Portland
Sale priceFrom $2,943.00
Regular price$4,459.00


60" Double Sink Bathroom Vanity with Top in Mid Century Walnut - James Martin Myrrin
Sale priceFrom $2,795.00
Regular price$4,235.00


60" Double Bathroom Vanity with Sink, Top & Wireless Charger in Bright White - James Martin Myrrin
Sale priceFrom $2,695.00
Regular price$4,083.00


60" Double Bathroom Vanity with Sink & Top in Light Natural Oak - James Martin Lorelai
Sale priceFrom $2,895.00
Regular price$4,386.00


60" Double Sink Bathroom Vanity in Bright White - James Martin Lorelai
Sale priceFrom $2,695.00
Regular price$4,083.00


60" Double Sink Bathroom Vanity with Top in Black Onyx - James Martin Lorelai
Sale priceFrom $2,695.00
Regular price$4,083.00


60" Double Sink Bathroom Vanity with Wireless Charger in Light Natural Oak - James Martin Laurent
Sale priceFrom $2,869.00
Regular price$4,347.00


60" Double Sink Bathroom Vanity in Light Natural Oak - James Martin Hudson
Sale priceFrom $2,549.00
Regular price$3,862.00


60" Double Bathroom Vanity with Sink & Top in Walnut Whisper - James Martin Chicago
Sale priceFrom $2,749.00
Regular price$4,165.00


60" Double Sink Bathroom Vanity in Smokey Celadon - James Martin Chicago
Sale priceFrom $2,749.00
Regular price$4,165.00


60" Double Sink Bathroom Vanity with Top in Glossy White - James Martin Chicago
Sale priceFrom $2,855.00
Regular price$4,326.00


60" Double Sink Bathroom Vanity in Pecan - James Martin Brookfield
Sale priceFrom $2,895.00
Regular price$4,386.00


60" Double Sink Bathroom Vanity with Top in Honey Oak - James Martin Brookfield
Sale priceFrom $2,895.00
Regular price$4,386.00


60" Double Bathroom Vanity with Sink & Top in Black Onyx - James Martin Brookfield
Sale priceFrom $2,795.00
Regular price$4,235.00


60" Double Sink Bathroom Vanity in Victory Blue - James Martin Brittany
Sale priceFrom $2,255.00
Regular price$3,417.00


60" Double Sink Bathroom Vanity with Top in Urban Gray - James Martin Brittany
Sale priceFrom $2,255.00
Regular price$3,417.00


60" Double Bathroom Vanity with Sink & Top in Smokey Celadon - James Martin Brittany
Sale priceFrom $2,319.00
Regular price$3,514.00


60" Double Sink Bathroom Vanity in Saddle Brown - James Martin Brittany
Sale priceFrom $2,255.00
Regular price$3,417.00


60" Double Sink Bathroom Vanity with Top in Burnished Mahogany - James Martin Brittany
Sale priceFrom $2,255.00
Regular price$3,417.00


60" Brittany Double Vanity in Bright White w/ FreePower Wireless Charger by James Martin Vanities (655-V60D-M-BW)
Sale priceFrom $4,114.00
Regular price$6,234.00


60" Brittany Double Vanity in Black Onyx w/FreePower Wireless Charger by James Martin Vanities
Sale priceFrom $4,114.00
Regular price$6,234.00


60" Double Bathroom Vanity with Sink, Top & Wireless Charger in Whitewashed Walnut - James Martin Bristol
Sale priceFrom $2,558.00
Regular price$3,876.00


60" Double Sink Bathroom Vanity with Wireless Charger in Saddle Brown - James Martin Bristol
Sale priceFrom $2,558.00
Regular price$3,876.00