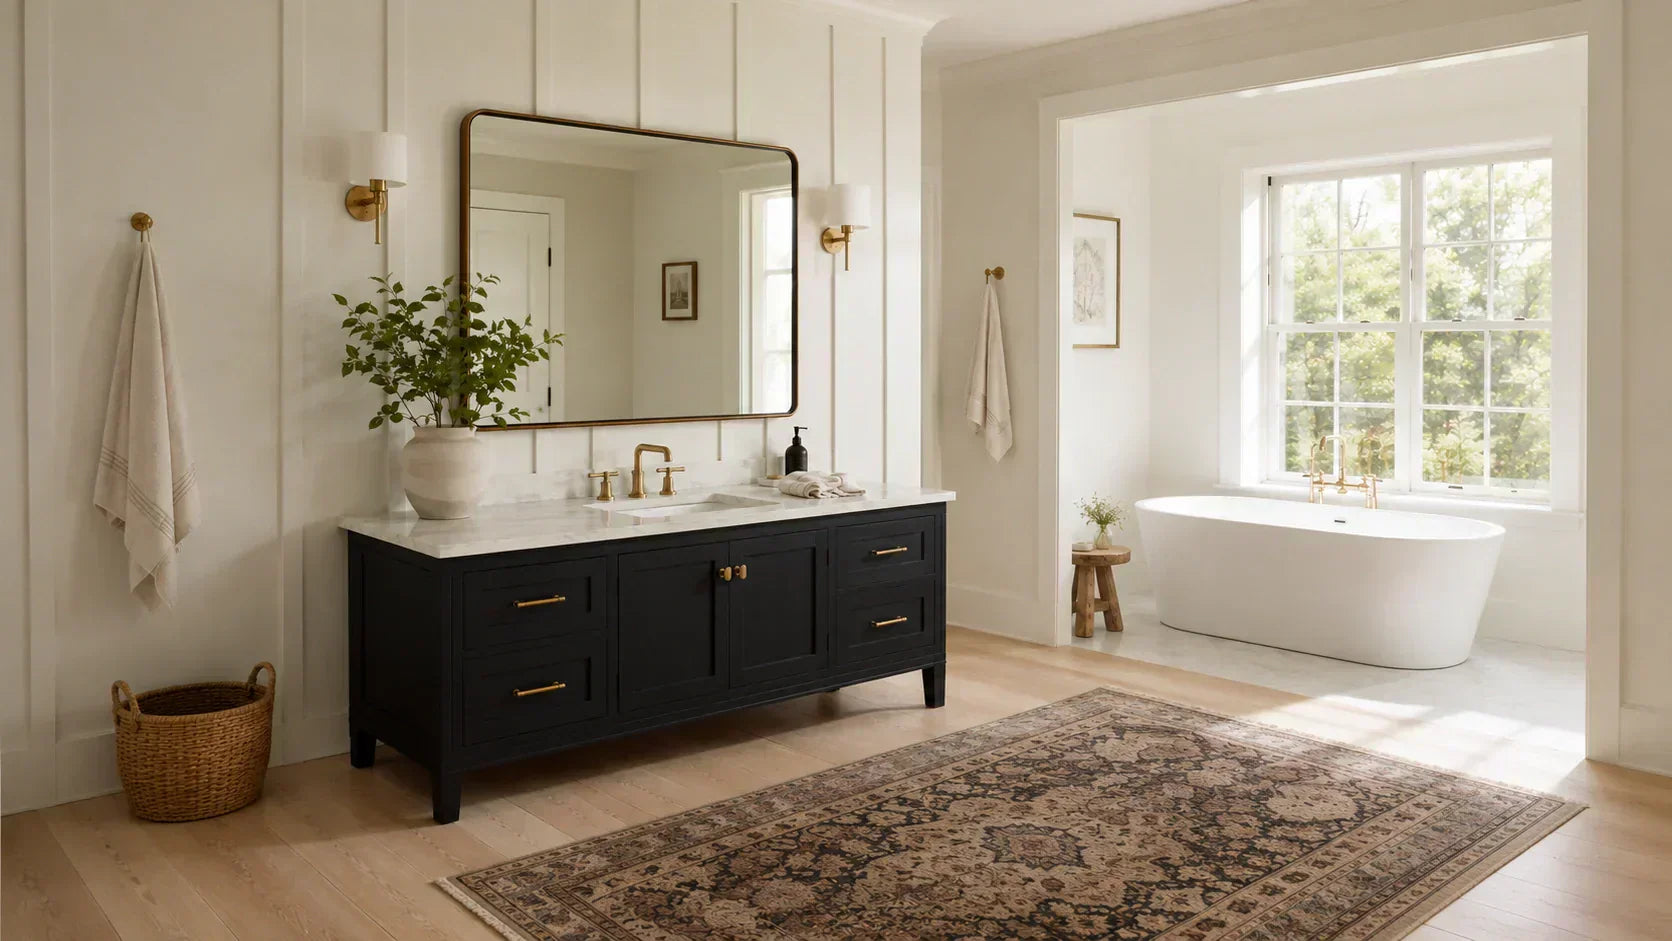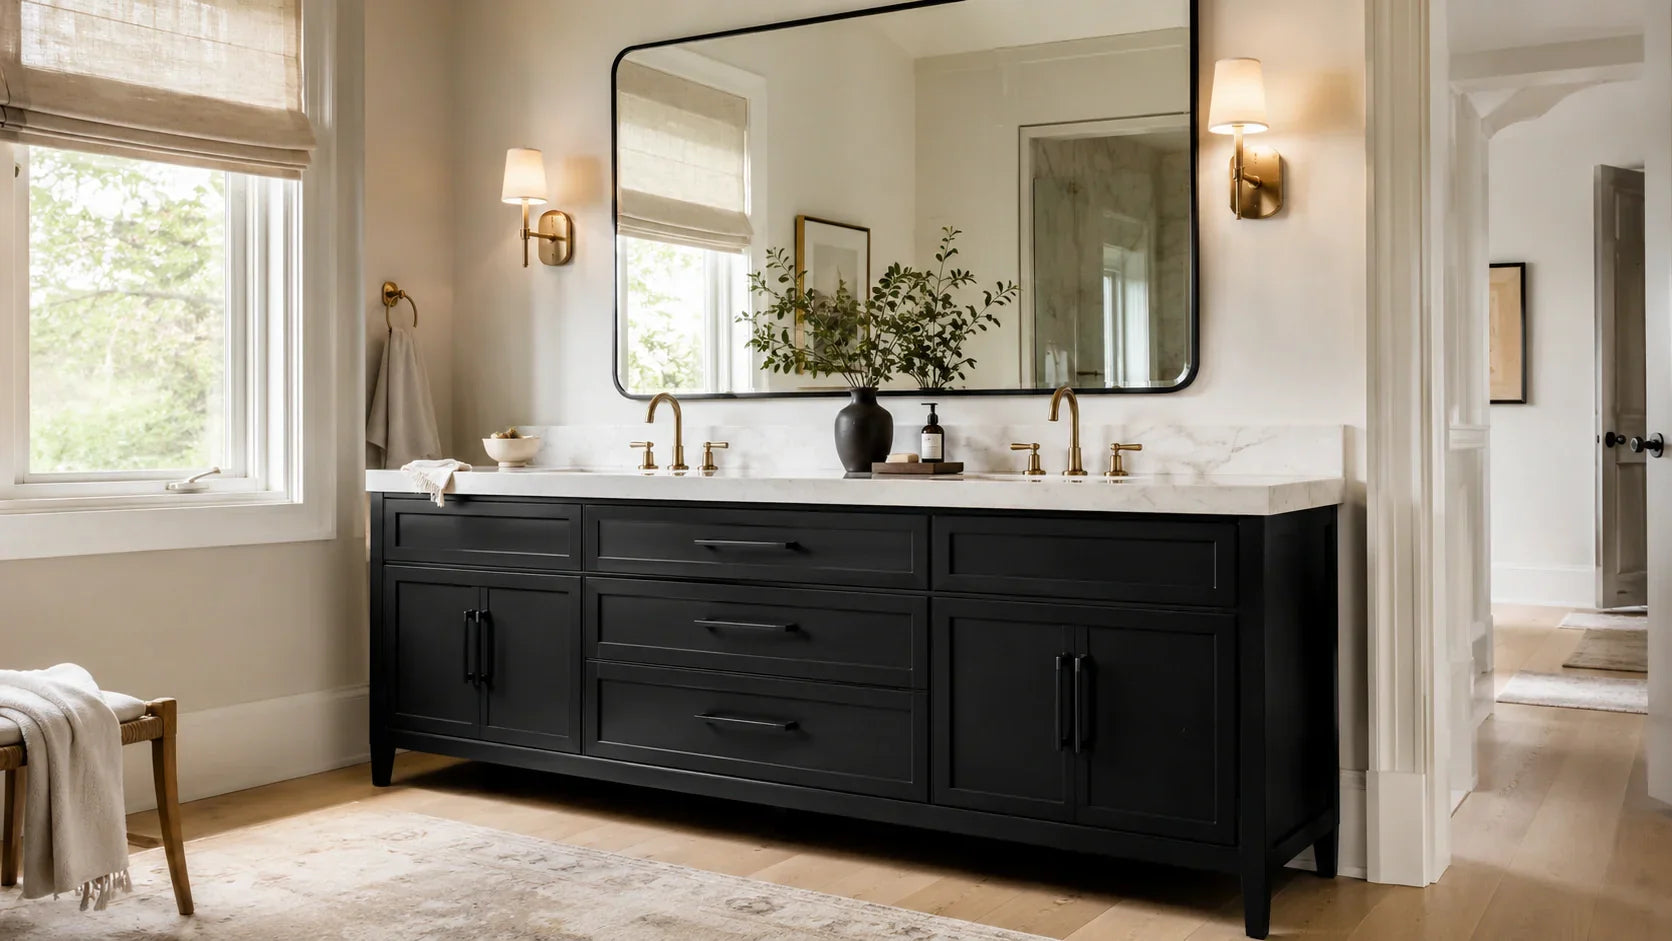
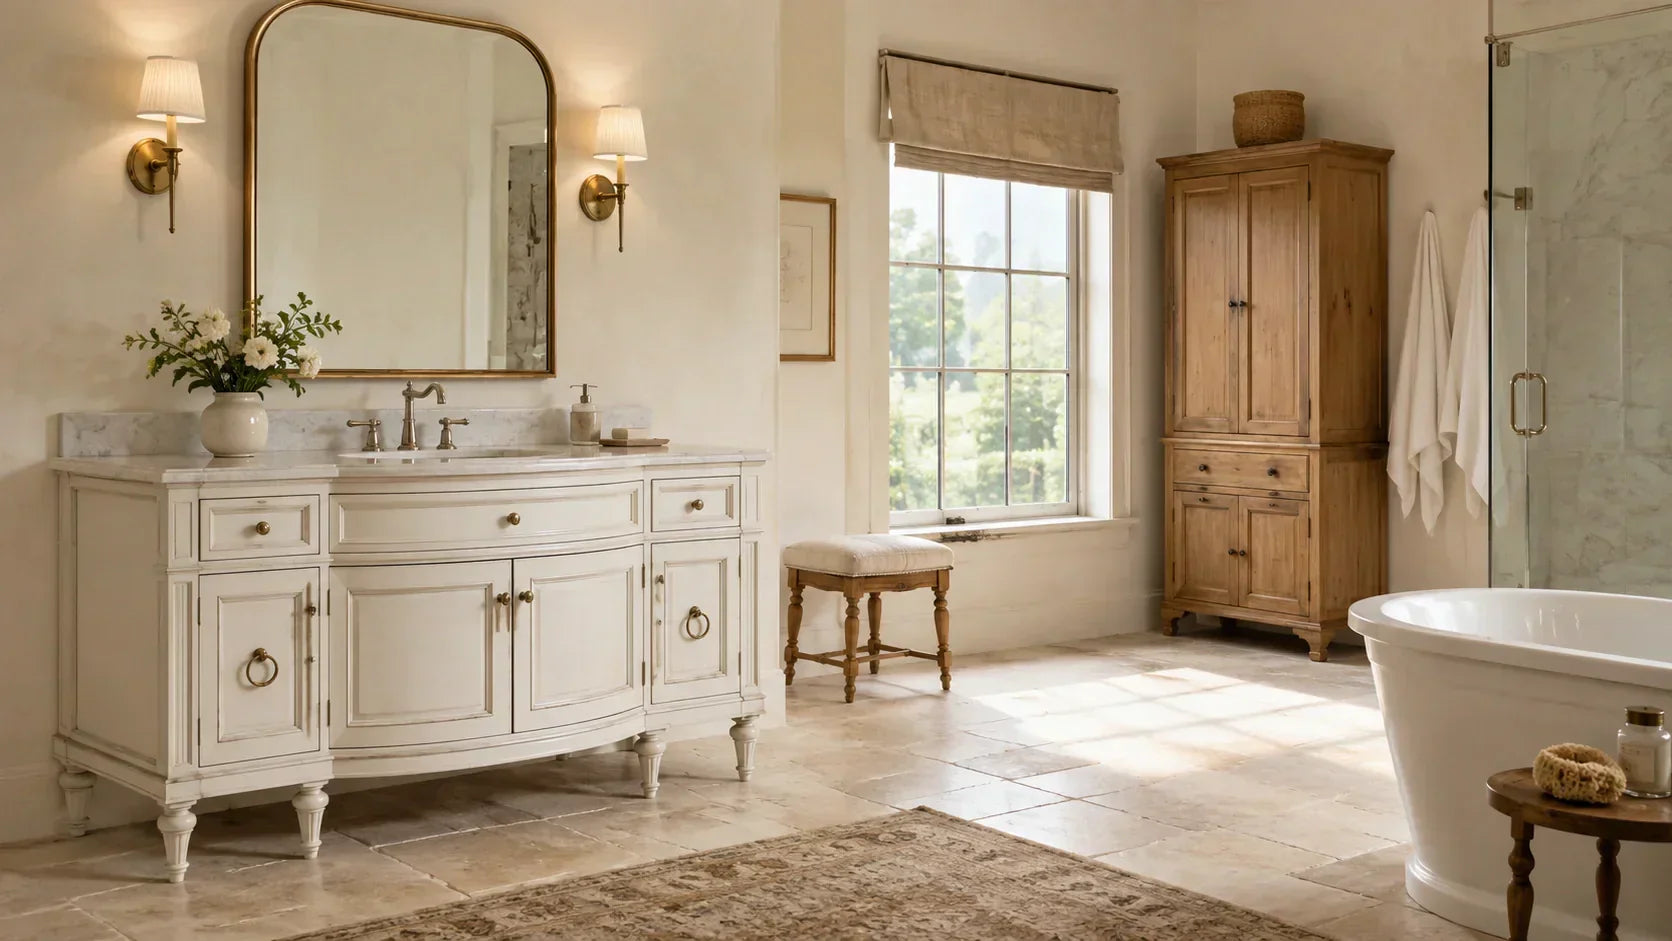
Antique Bathroom Vanity Finishes: Distressed, Painted, and Natural Wood
Two vanities can share the same turned legs, the same apron front, and the same antique silhouette, then age in completely different directions once you live with them every morning, and that difference comes down to finish. Antique bathroom vanity finishes are where a piece either gains character or starts looking tired, and price alone won't tell you which way it will go. The color catches your eye first. The coating system underneath and over it decides how the next five years feel.
The BathGems Brief
Distressed, painted, and natural wood aren't three versions of the same look. They're three different maintenance relationships, and the label on the color tells you less than the finish schedule protecting it.
- Natural wood is only easy to repair when the coating is repairable. A compatible hardwax oil may allow local renewal. A clear film finish over wood grain usually behaves more like painted cabinetry and may require a full-panel recoat.
- Distressed finishes hide ordinary edge wear, but deep damage is hard to match. The aged effect depends on layered color, glaze, and sand-throughs, so a new gouge rarely disappears with one touch-up pen.
- Painted finishes reward a complete system. Primer, color coat, and clear coat must be compatible with the substrate, especially over oak, mahogany, or an unknown older finish that can bleed through pale paint.
- Water finds transitions first. Sink cutouts, door edges, seams, and the toe kick deserve more scrutiny than the broad center of a drawer front.
Antique Bathroom Vanity Finishes: How Distressed, Painted, and Natural Wood Differ

Powered by AURA Modern Home Hotspot Builder
Settle the silhouette before you compare finishes. Turned legs, an apron front, furniture-style molding, and ornate hardware create the antique language underneath the color. Start with our antique bathroom vanity collection, then judge each finish against the room where it will live.
Distressed finishes use deliberate wear, usually at corners, molding, and touch points. Painted finishes rely on an opaque coating system, often antique white, cream, sage, or greige. Natural wood finishes keep the grain visible through oil, stain, wax, lacquer, or another clear coating, which means “natural” describes the appearance, not the level of moisture protection.
All three finish families can work in a bathroom when the cabinet, substrate, coating, and installation are suited to moisture. None should be treated as waterproof. Standing water, failed caulk, a leaking supply line, or an unsealed cut edge can defeat a good-looking finish faster than normal room humidity.
| Finish | Daily Reality | Moisture Weak Point | Repair Reality | Best Fit |
|---|---|---|---|---|
| Distressed vanity finish | Minor edge wear blends into the look | Exposed sand-throughs and carved details near splash | Small marks hide well, deep scratches are difficult to match invisibly | Farmhouse, French country, and collected traditional rooms |
| Painted antique vanity | Easy to wipe when the coating is fully cured | Chipped edges, seams, and any exposed MDF or wood | Best with the original paint formula and sheen available | Cottage, transitional, and lighter low-daylight baths |
| Natural wood bathroom vanity | Grain disguises small marks and changes subtly with light exposure | End grain, joints, and any break in the coating film | Excellent with some oil systems, more involved with film finishes | Traditional, transitional, and modern farmhouse rooms |
The moisture pattern is remarkably consistent. The broad center of the cabinet usually isn't the first place to fail. Repeated splash and capillary action concentrate at edges, openings, and the lowest point near the floor.
On a wood vanity top, inspect the sink cutout and faucet holes. On any vanity, inspect door edges, seams, and the toe kick. Those transitions need continuous finish, sound caulk where specified, and no exposed substrate.
The Distressed Vanity Finish: How It's Made and How It Wears

Powered by AURA Modern Home Hotspot Builder
A good distressed finish follows the logic of real wear. Manufacturers may layer primer, paint or stain, glaze, and a protective clear coat, then abrade selected edges and raised details. The exact schedule varies, so don't assume every “hand-distressed” label describes the same materials or protection.
Where the wear lands matters more than how much of it you see. Softened corners, pull areas, and raised molding feel believable because hands and cleaning cloths would reach them first. Random pale scratches across a flat door panel read like a printed effect, especially under a single sconce that throws every texture into relief.
Distressing is forgiving until the damage breaks through the planned layers. A small rub at an edge may disappear into the pattern. A deep scratch from a dropped styling tool can reveal a new color or raw substrate, and matching the original glaze, sheen, and sand-through by eye is difficult.
We recommend seeing a physical sample vertically, not flat on a table. Hold it under your vanity sconces in the morning and again after dark. Side lighting can turn subtle glaze into heavy striping, which is the kind of difference product photography rarely shows.
The Painted Antique Vanity: Antique White and Beyond

Antique white, cream, pale blue, sage, and warm greige give an ornate vanity breathing room. The smart move is to judge the coating system, not the paint color alone. A properly prepared substrate, compatible primer, cured color coat, and approved clear coat behave very differently from a decorative paint applied over a glossy unknown finish.
Light paint isn't automatically the finish that shows water spots first. Chalky mineral residue often reads more strongly on black, navy, and dark walnut, while antique white is more likely to reveal makeup, hair dye, grime at hardware, or yellowing where the coating system reacts with the wood below. Sheen changes the picture too. Satin reflects dried drips more clearly than matte, but it also wipes clean more easily.
Use the cleaner named by the vanity or finish manufacturer. A soft cloth with mild soap and water is the safest default when instructions are unavailable, followed by a dry cloth at seams and edges. Abrasive powders, melamine sponges, and strong solvents can change the sheen before they visibly remove the color.
Painted finishes can be repaired well, but only when you can match the color and sheen. Factory-sprayed coatings are often harder to blend than brush-applied furniture paint, and a clear waterborne topcoat isn't a guaranteed shield against yellowing over every wood species or old finish. For pale cabinetry, we recommend a manufacturer-approved full system and a test panel before you coat the vanity itself. Our white bathroom vanity collection is the right place to compare how crisp white, antique white, and whitewashed finishes behave across different silhouettes.
Natural Wood Bathroom Vanity Finishes: Grain First, Coating Second

A natural wood bathroom vanity keeps the grain visible, but that tells you almost nothing about the coating. The surface may be hardwax oil, lacquer, polyurethane, conversion varnish, or another factory finish. Ask for the care instructions before assuming you can sand and re-oil it later.
Solid wood, veneer, plywood, and MDF also behave differently. Solid wood expands and contracts across the grain as humidity changes, while plywood and other engineered panels are generally more dimensionally stable. A well-built vanity may use solid hardwood at the face frame and doors with plywood panels inside, which can be a smarter bathroom construction than an all-solid box.
Oil-finished wood can be wonderfully repairable when the product is designed for local renewal. A film-coated wood finish is different. Once a scratch cuts through lacquer or polyurethane, touching one spot may leave a halo in the sheen, so the whole door or panel may need attention.
Light changes natural wood even when water never touches it. Ultraviolet exposure and oxidation can shift tone, and objects left in one place may create pale shadows around their edges. Move baskets and trays during the first months, then let the wood settle into an even patina. Browse our natural wood bathroom vanity collection if you want visible grain without assuming every piece has the same maintenance needs.
The Topcoat Does the Surviving: Sealers for a Real Bathroom

The color is the fashion. The coating system does the surviving. A finish has to resist splash, cleaning, skin oils, cosmetics, and repeated humidity cycles while keeping the sheen you chose, and no single product wins every category.
| Finish System | Water Behavior | Look | Repair Pattern | Smart Use |
|---|---|---|---|---|
| Paste wax | Limited protection against standing water and repeated splash | Soft, low-sheen, and tactile | Easy to renew, but needs regular care | Decorative cabinet areas away from the wettest sink zone |
| Hardwax oil | Product-specific water resistance, usually water-repellent rather than waterproof | Matte to low satin with visible grain | Some systems allow local cleaning and renewal | Natural wood when you will follow one manufacturer's maintenance system |
| Waterborne clear coat | Forms a protective film, performance varies by formulation and cure | Usually clearer than oil-based varnish | Film scratches may require recoating a full panel | Painted or light finishes after compatibility testing |
| Oil-based polyurethane or varnish | Durable film when applied and cured to specification | Warmer and more amber than most waterborne clears | Usually a panel-level repair | Mid-tone and dark wood where added warmth is welcome |
| Marine or spar varnish | Designed to tolerate moisture and wood movement, but not permanent standing water | Often warmer and more visibly built-up | Labor-intensive once the film is damaged | Exposed wood tops when the product maker approves the application |
Don't choose a topcoat from the generic family name alone. A cabinet-grade waterborne coating may outperform a basic consumer varnish, and two hardwax oils can have different application schedules, cure times, and water-resistance claims. Follow one manufacturer's system from preparation through maintenance instead of mixing products because their labels sound compatible.
End grain, bored faucet holes, sink cutouts, seams, and the underside of a wood top need attention where the finish instructions call for it. A thick film isn't permission to leave puddles overnight. The Wood Whisperer's bathroom vanity finishing discussion makes the useful trade-off plain: more film generally means more protection, but also a more built-up look.
Cure time matters as much as dry time. A coating may feel dry and still be too soft for hardware, cleaners, or steam exposure. Use the product's stated recoat and full-cure schedule, then add ventilation rather than guessing by touch.
Finishing or Refinishing an Antique Vanity Yourself

The first DIY decision isn't color. It's whether the old coating is safe and sound enough to keep. If the vanity may have pre-1978 paint, don't dry-sand first and ask questions later. Follow the EPA's lead-safe renovation guidance and test or use lead-safe work practices before disturbing the surface.
Chalk-style furniture paint gives you control over where an edge looks worn, but many formulas remain porous until protected with a compatible topcoat. Traditional milk paint bonds readily to raw, porous wood and may need a bonding additive over a sealed surface. “Mineral paint” covers more than one formulation, so check the label. Some acrylic mineral furniture paints include a built-in topcoat, while others still need added protection in a sink zone.
To lighten oak without hiding the grain, use a whitewash or a limed or cerused finish made for wood. Whitewash leaves a translucent veil over the surface. Cerusing works pigment into open grain, which is especially effective on oak because the pores carry the pale contrast while the field remains visibly wood.
Paint over an old finish only when it is firmly bonded. Clean away wax, silicone polish, and residue, then scuff or degloss as the new coating manufacturer directs. Strip to bare wood when you want a transparent finish, when the existing coating is failing, or when incompatible layers would leave you building on a weak foundation.
We recommend removing doors and hardware, labeling every hinge position, and finishing a hidden test area before committing to the front. A color match can still fail if the sheen is wrong, and a low side light will expose lap marks that looked invisible in the garage. If the refinishing plan is starting to sound like three weekends instead of one, our farmhouse bathroom vanity collection gives you the aged language without the stripping dust.
Choosing the Right Antique Finish for Your Bathroom's Light and Style

Finish choice is a light and proportion decision before it's a color decision. A dark, heavily glazed vanity can anchor a bright primary bath, then feel twice as heavy in a narrow powder room with one warm sconce. For a low-daylight room, we recommend antique white, pale paint, or a lightly finished oak unless the vanity is intentionally the darkest object in the space.
Let one surface carry the visual weight. If the vanity has deep glaze, carved detail, or strong grain, pair it with a quieter top such as honed Carrara marble or restrained quartz. If the stone has dramatic movement, keep the cabinet finish calmer so your eye has somewhere to rest.
Check the cabinet substrate before you decide how much moisture risk you can accept. Solid wood doors can often be repaired or refinished, but they also move with humidity. Veneer gives you real wood grain over a stable core, yet it can't tolerate aggressive sanding. MDF takes paint smoothly, but any exposed edge can swell rapidly, so continuous sealing around drilled holes and plumbing cutouts is non-negotiable.
Hardware changes the finish more than most samples suggest. Unlacquered brass warms walnut, mahogany, and glazed cream, then develops its own patina. Brushed nickel keeps antique white quieter. Matte black creates crisp contrast, but it can make a pale vanity feel more graphic and less aged.
Order two or three finish samples when they're available, then view them upright beside the tile, wall color, countertop, and hardware. Check them in daylight, with the sconces on, and after the mirror has fogged from a shower. The sample that looks richest on a sunny countertop isn't always the one that stays calm under warm evening light.
Farmhouse rooms can carry visible grain and honest edge wear. Transitional bathrooms usually want cleaner paint or a restrained glaze. French country can take more ornament, but the smart move is to keep either the finish or the stone quiet. Use our guide to bathroom vanity styles to cross-check the finish against the cabinet's shape before you order.
Explore our Antique Bathroom Vanity


Make the finish prove itself in your room.
Compare physical samples whenever the manufacturer offers them, then ask for the exact care instructions and touch-up path before you buy. The right finish isn't the one that looks best for five minutes under showroom light. It's the one whose maintenance still makes sense on a wet Tuesday morning.
Frequently Asked Questions

Todd Harmon
Todd fields more finish questions on antique vanities than almost anything else BathGems sells, and the one he wishes people asked sooner is about the coating system, not the color. His rule is simple: choose the finish for how it wears and seal it for where it lives. With over two decades in e-commerce and product curation, Todd built BathGems on a simple idea: a bathroom should feel as collected and considered as the rest of the home. He sources every vanity and fixture in the BathGems catalog the way a designer pulls samples, weighing material, proportion, finish quality, and how a piece actually lives in a real room over time.