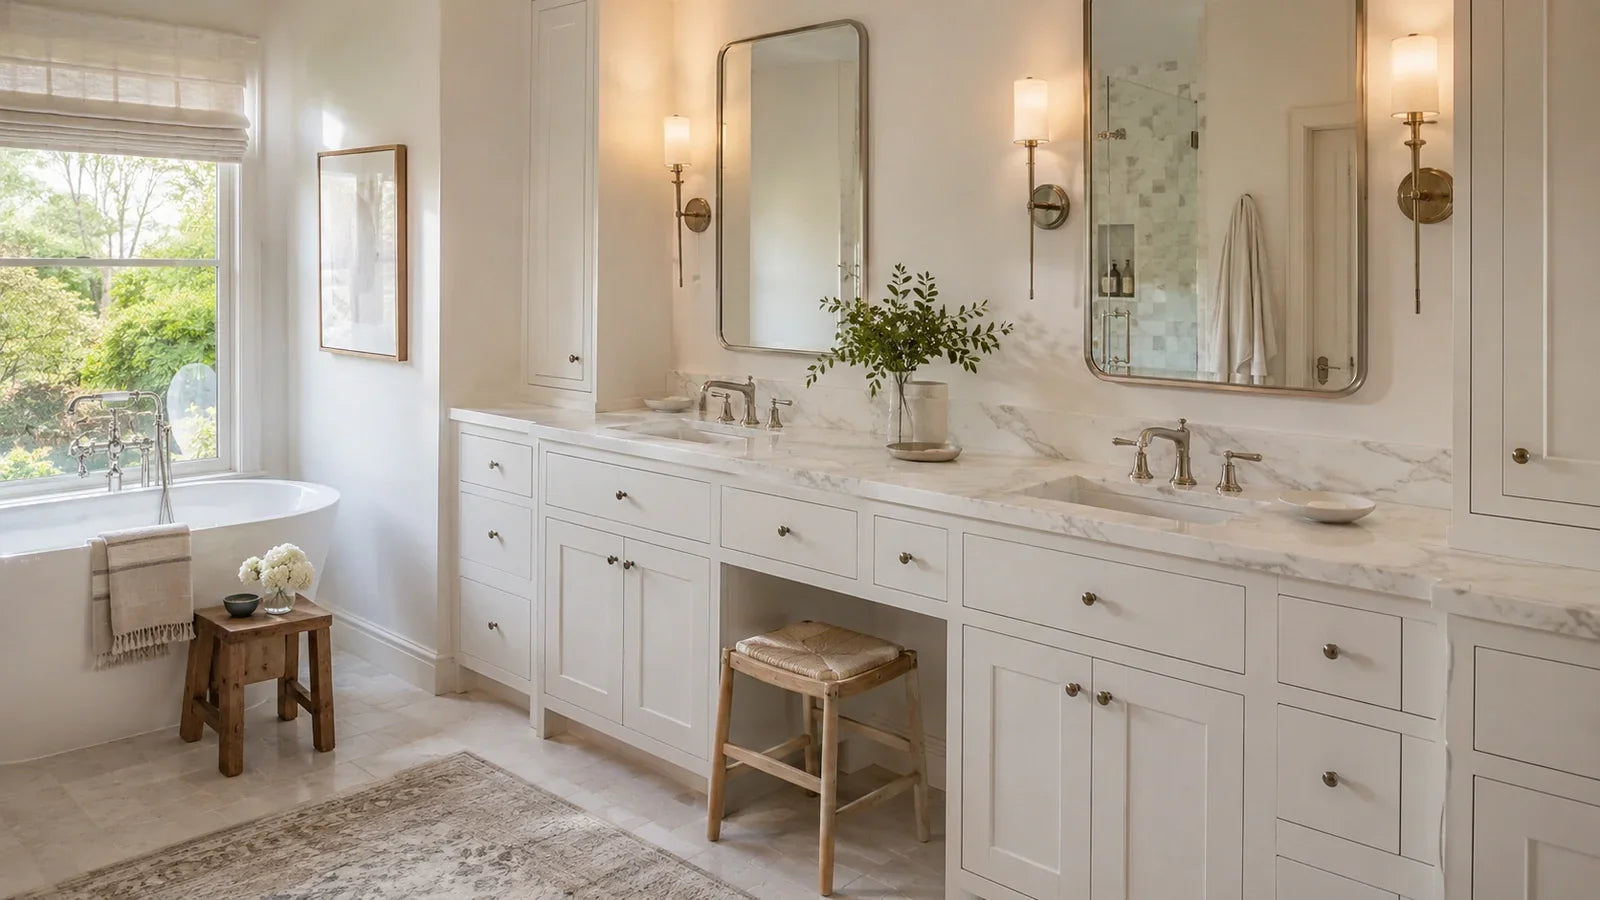
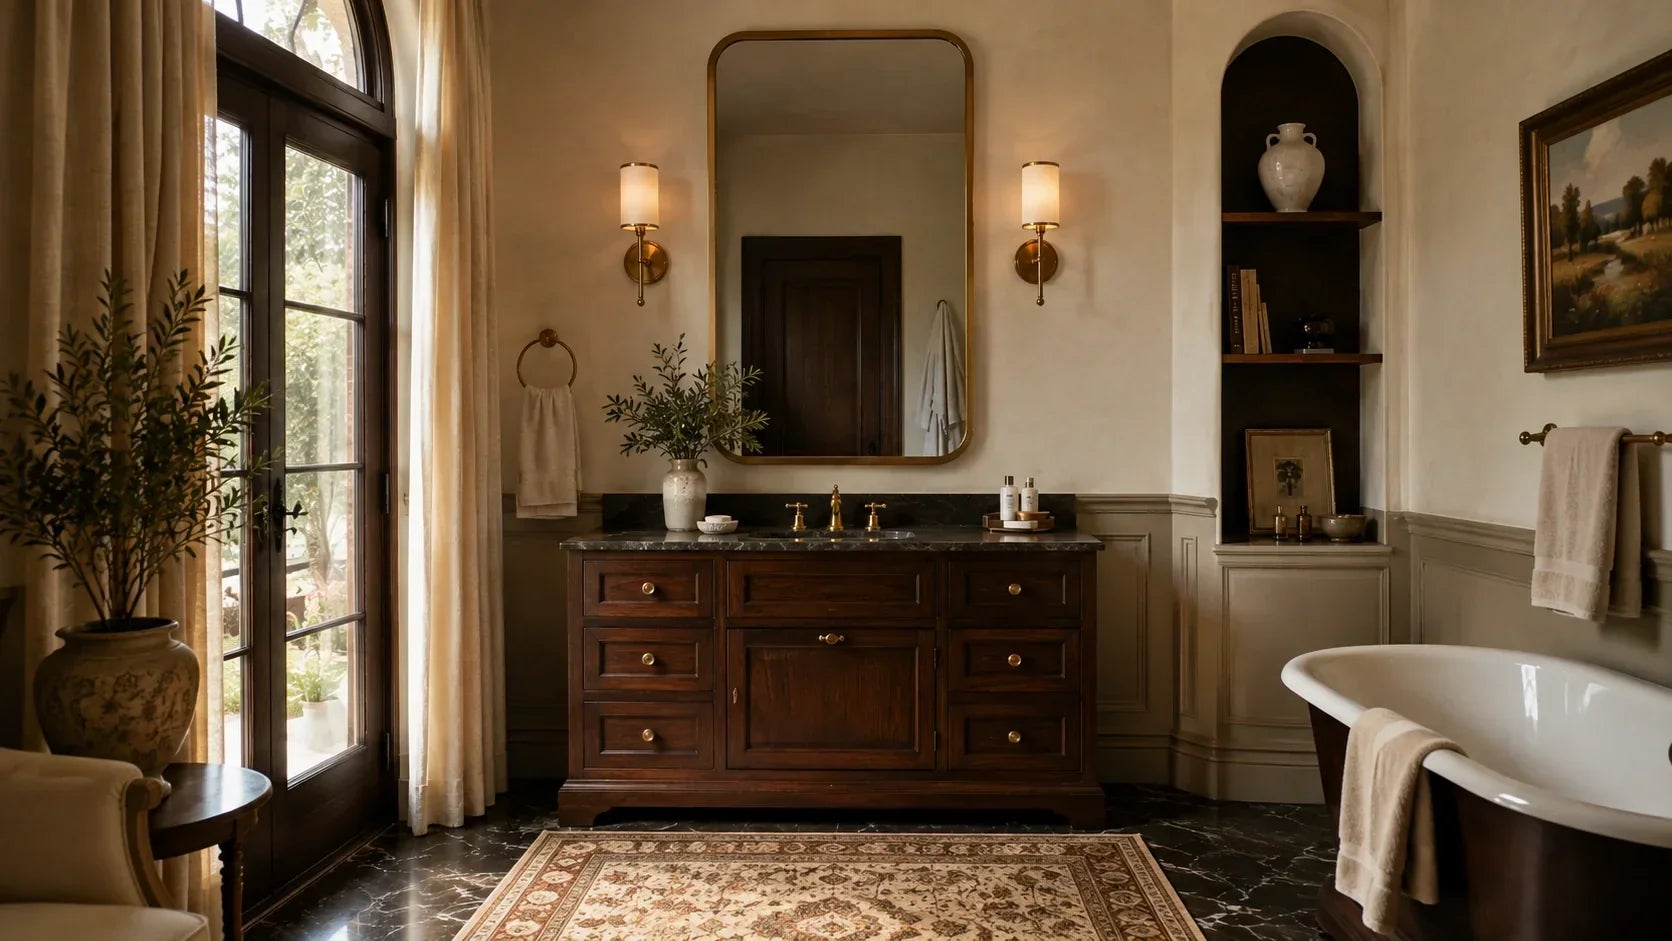
How to Care for an Antique Bathroom Vanity Without Ruining Its Patina
An antique vanity is the one piece in your bathroom with a past, and the bathroom is the one room quietly working to erase it. Water, heat, and a humidity swing every single morning are hard on old wood and soft stone in ways your dresser or dining table never has to survive. So learning how to care for an antique bathroom vanity is less about polishing and more about protecting: managing the room around the piece, cleaning it the way its materials actually want to be cleaned, and knowing the difference between the honest patina you want to keep and the damage you need to stop.
The BathGems Brief
The smart move is to identify what you own before you clean it. A genuine antique with an original or unknown finish needs a more conservative routine than a newly built antique-style vanity with a documented bathroom finish.
- Keep water moving. Wipe splashes from the top, faucet base, seams, and toe area before they sit. Check under the sink for slow leaks before swelling or staining appears.
- Match the cleaning method to the finish. On a true antique, start dry and avoid wet-cleaning an unknown or unstable finish. On a bathroom-ready reproduction, follow the maker's care instructions for the exact coating.
- Vent the room, not just the mirror. Run the exhaust fan during showers and for about 20 minutes afterward. Try to keep indoor relative humidity below 60 percent, and avoid repeated sharp swings around an older piece.
- Wax and seal only when the material calls for it. Wax can protect some sound furniture finishes, but it isn't food for wood and it doesn't belong on every coating. Natural stone should be resealed according to the stone, the sealer, and an absorption test, not a fixed calendar.
This guide covers both real antiques and antique-style vanities, but we won't treat them as the same object. If you're shopping our antique bathroom vanity collection, those pieces are newly built for modern plumbing rather than period furniture adapted after the fact. If you're deciding which route fits your bathroom, our guide to antique vs. antique-style vanities explains the trade-off before maintenance becomes your daily problem.
Why the bathroom is the hardest room for an antique vanity

Wood moves as humidity changes. It takes on moisture as the air gets wetter and releases moisture as the room dries, which can stress joints, veneer, paint, varnish, and other old surface coatings over time. A bathroom compresses that cycle into daily use, especially when a hot shower is followed by aggressive air-conditioning, a heating vent, or direct sun.
Standing water is the faster problem. A few drops around the faucet are easy to ignore, but repeated moisture at a backsplash seam, sink cutout, cabinet edge, or toe kick can work into unfinished end grain or a break in the coating before the face of the vanity looks damaged. In our experience, transitions fail before broad flat panels do, so those are the places worth checking first.
A newly built antique-style vanity is easier to protect because the sink, drain route, cabinet finish, and hardware were planned for bathroom use. A genuine washstand or dresser may still work well, but the right call is to treat any unknown finish as fragile until you know what it is.
| What | Smart target | How often |
|---|---|---|
| Room humidity | Below 60% RH where practical, with fewer sharp swings | Run the exhaust fan during showers and about 20 minutes after |
| True antique wood | Dry cleaning first; no wet-cleaning until the finish is identified and stable | Dust only when needed |
| Bathroom-ready wood finish | Maker-approved cleaning method, dried promptly | As needed |
| Paste wax on a compatible antique finish | Very thin coat, buffed well | Infrequently, often years apart |
| Natural-stone top | Neutral cleaner; reseal only when the stone and sealer call for it | Clean as used; test periodically |
| Splash and leak check | No standing water at seams, faucet holes, feet, or plumbing | Daily above the sink, monthly below it |
How to care for an antique bathroom vanity: the weekly cleaning routine

The weekly routine should be shorter than you think. Dust, remove fresh splashes, clean the stone with the right product, and inspect the wettest seams. The mistake to avoid is treating an unknown century-old finish like a factory-lacquered vanity just because both happen to be wood.
For a genuine antique with an original or unknown finish, start with a clean, soft, dry cloth and stop there if the surface is flaking, powdery, cloudy, or lifting. Some sound historic finishes can tolerate careful damp cleaning after a small hidden-area test, but painted or degraded surfaces may be water-sensitive. If you're unsure what coating you're looking at, we recommend a furniture conservator before soap touches it.
For a modern antique-style vanity, follow the manufacturer's care sheet. A sound factory coating may allow a soft, barely damp cloth with a mild cleaner, but spray the cloth rather than the cabinet and dry seams immediately. On honed marble or another natural-stone top, use a neutral stone cleaner or stone soap and warm water, then dry the surface.
| Surface | Use | Avoid | Protect with |
|---|---|---|---|
| True antique, original or unknown finish | Soft dry cloth; professional guidance for stubborn soil | Routine wet-cleaning, spray polish, silicone polish, harsh solvents | Only a finish-compatible treatment |
| Modern painted, glazed, or clear-coated cabinet | Manufacturer-approved cleaner on a soft cloth, then dry | Standing water, abrasives, soaking seams | The factory coating, maintained as directed |
| Oil- or wax-finished wood | Dry cleaning plus the exact maintenance product specified for that finish | Mixing oils, waxes, or topcoats without checking compatibility | The same compatible finish system |
| Honed marble or other calcareous stone | pH-neutral stone cleaner or stone soap, warm water | Vinegar, lemon, acidic bathroom cleaner, abrasive powder | Penetrating sealer when appropriate for the stone |
| Antique or unlacquered brass hardware | Soft dry cloth; barely damp cloth only when appropriate | Aggressive metal polishing that removes intended patina | Usually nothing unless a conservator or maker specifies otherwise |
For a spill on stone, blot instead of smearing it across the top. The same habit helps around old wood because it lifts liquid before it reaches a seam, although you should use the least moisture possible on a fragile finish.
Ignore this popular advice
Skip homemade vinegar-and-oil cleaners, generic furniture spray, and automatic annual stone sealing. Acid can etch marble, commercial polishes can leave residues that complicate old finishes, and natural stone doesn't benefit from extra sealer simply because another year passed. Gentle, compatible, and infrequent is the better rule.
Conditioning the wood, and the paste-wax truth

Wood doesn't need to be fed. Old furniture finishes need to be protected from dirt, water, light, incompatible products, and repeated handling, which is a different job. The North Carolina Historic Sites furniture care guidance specifically warns against commercial furniture polishes because solvents and silicones can damage original finishes and leave difficult residue.
Paste wax can still be right for a sound, compatible antique finish. Apply it thinly, buff it well, and think in years rather than months. If the finish is unknown, flaking, or already gummy, adding wax only gives the next restorer another layer to work through.
A modern bathroom vanity is a different maintenance relationship. If it has a lacquer, conversion varnish, polyurethane, hardwax oil, or another documented coating, use the care product that belongs to that system and don't add furniture wax unless the maker allows it. That discipline is one reason bathroom-ready solid wood vanities can be easier to live with than a converted period piece.
Explore our Antique Bathroom Vanity


Sealing the vanity top: what a sealer does and does not do

A penetrating stone sealer buys cleanup time. It doesn't make marble stainproof, and it doesn't stop etching. The Natural Stone Institute describes these products as impregnators that make appropriate stones more resistant to staining rather than waterproofing them.
Etching is a separate problem. Marble and other calcareous stones react to acids, so a sealed surface can still develop a dull spot from an acidic cleaner or spill. If you love honed Carrara, accept that faint etches may become part of the surface over time, then protect against preventable stains with prompt cleanup and the right sealer.
Don't reseal by date alone. Put a small puddle of water on a dry, clean area of a previously sealed top and leave it for roughly 10 to 15 minutes, then wipe it dry. If the stone darkens where the water sat, it's absorbing moisture and you should check the sealer manufacturer's instructions or ask your fabricator whether another application is due; if the color doesn't change, leave the surface alone.
Protecting a true antique without over-restoring it

A real antique needs protection from bathroom moisture, but adding a new coating to every hidden surface isn't automatically the safest answer. Original finishes can have historical, visual, and financial value, and even an interior or back panel may contain evidence of how the piece was built. We recommend keeping interventions as limited and reversible as the installation allows.
Start with plumbing. Use a removable leak tray beneath the trap and supply valves, add a small water sensor under the sink, and inspect the cabinet after the first few weeks of use. Those measures catch the kind of slow drip that swells a drawer rail or stains a back panel long before the floor tells you anything is wrong.
If the piece still needs a sink cutout, drain opening, bracing, or a new protective coating, stop before you cut. On an ordinary dresser, a skilled fabricator or furniture restorer can help you plan the least destructive route. On a genuinely old, rare, signed, or unusually intact piece, have a furniture conservator or qualified appraiser assess it first, because irreversible bathroom alterations can reduce historical and market value.
For a newly built antique-style vanity, follow the installation guide instead. Seal or caulk only where the maker or countertop fabricator calls for it, keep the sink cutout and faucet penetrations dry, and never assume a decorative finish is waterproof just because it was sold for a bathroom.
Humidity, hardware, and the small daily habits

Ventilation is the least glamorous part of antique vanity care and one of the most useful. Run the exhaust fan while you shower and for about 20 minutes afterward so the room doesn't stay saturated, and make sure the fan actually vents outdoors. A timer switch makes this habit automatic, which matters more than buying a fancier cleaning product.
For a lived-in home, try to keep indoor relative humidity below 60 percent and avoid repeated sharp spikes around the vanity. A hygrometer is useful for spotting patterns, but don't obsess over a single reading after one shower. What you're looking for is a bathroom that dries back down instead of staying damp for hours.
Hardware needs the same restraint as wood. Original antique brass can carry valuable patina, while modern unlacquered brass is designed to darken and change with touch and moisture. Lacquered, plated, and oil-rubbed finishes behave differently, so skip the magnet test and follow the actual finish specification before polishing anything.
If you want the warmth of wood and furniture-style detail without conservation-level maintenance, compare the cabinet construction and finish schedule before you compare the carved front. That is the practical difference between a piece that merely looks old and one that lives well in a wet room.
Explore our Solid Wood Bathroom Vanities

30" Beckett Single Bathroom Vanity in Whitewashed Oak with Brushed Nickel Trim by Wyndham


24" Chianti Single Cabinet in Glossy White in Champagne Brass by James Martin Vanities


Patina versus refinishing: when to leave it alone

Age is not damage. A softened sheen, small color shifts, worn edges, and darkened brass can be part of an antique's surface history, and stripping those clues away can change both the look and the value of the piece. The first question isn't "How do we make this look new?" It is "Is the finish stable?"
Flaking paint, lifting veneer, loose joints, active mold, or water staining that keeps spreading deserves attention, but it doesn't automatically justify sanding the whole cabinet. Repair the failure first and preserve as much sound original material as you can. Lifting veneer and unstable historic coatings are especially easy to make worse with a casual DIY repair.
For a modern antique-style vanity, refinishing rules are simpler but still finish-specific. A chipped painted door, worn hardwax oil, and damaged lacquer each call for different repair methods, so the smart move is to identify the coating before you reach for sandpaper. Matching the sheen is often harder than matching the color, especially under side lighting from sconces.
A maintenance rhythm that makes sense
- After use: remove standing water from stone, faucet bases, seams, and any splash that reaches the cabinet.
- Each month: inspect supply lines, the trap, the cabinet floor, and the wall behind the vanity for dampness or staining.
- Every few months: look at the room's humidity pattern and check veneer edges, joints, caulk, and exposed cutouts.
- When the stone changes behavior: run an absorption test and reseal only if the stone and sealer instructions support it.
- Only when the wood finish calls for it: renew wax, oil, or another coating with a product that is compatible with the existing finish.
Choose the maintenance relationship before the finish
If you want genuine age, plan around conservation, limited intervention, and a little visible patina. If you want the same furniture feeling with simpler daily care, compare newly built options by construction, finish system, and stone top across our bathroom vanity styles, then keep the exact care sheet with your renovation records.
Frequently Asked Questions

Todd Harmon
Todd's view is simple: an antique vanity should keep the surface history that makes it worth owning, while the room around it does the work of controlling water and humidity. The right care plan protects both the finish and the way the piece feels in the room. With over two decades in e-commerce and product curation, Todd built BathGems on a simple idea: a bathroom should feel as collected and considered as the rest of the home. He sources every vanity and fixture in the BathGems catalog the way a designer pulls samples, weighing material, proportion, finish quality, and how a piece actually lives in a real room over time.