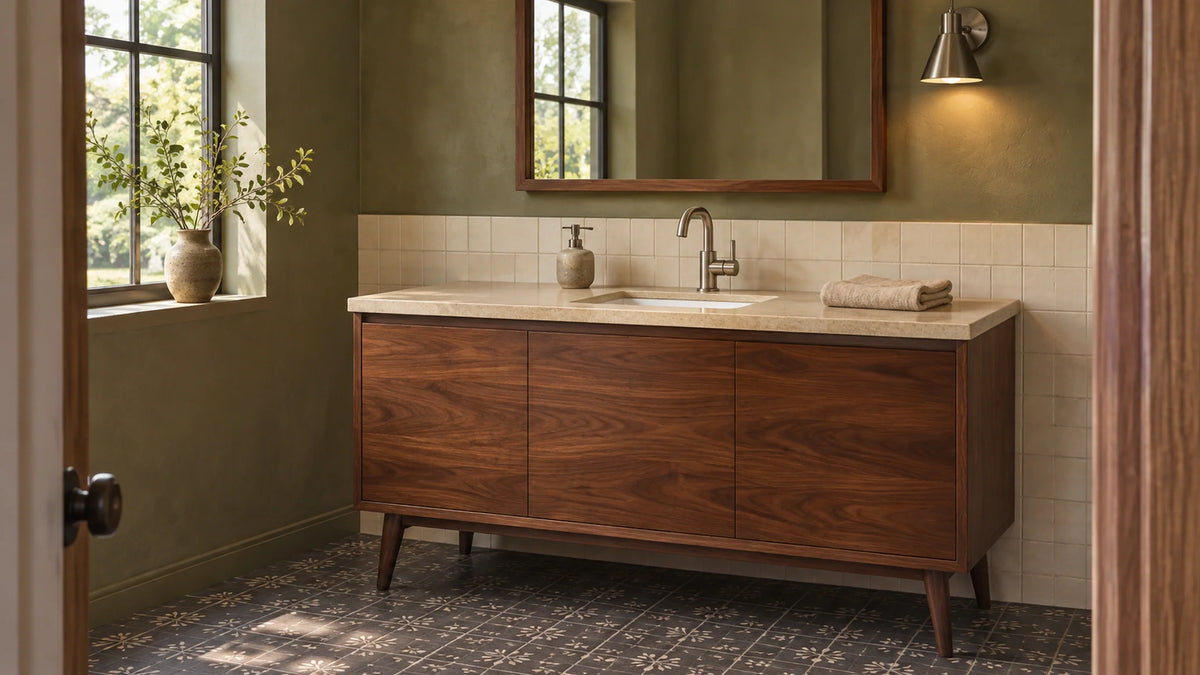
Article: How to Plan a Primary Bathroom Around One Large Vanity
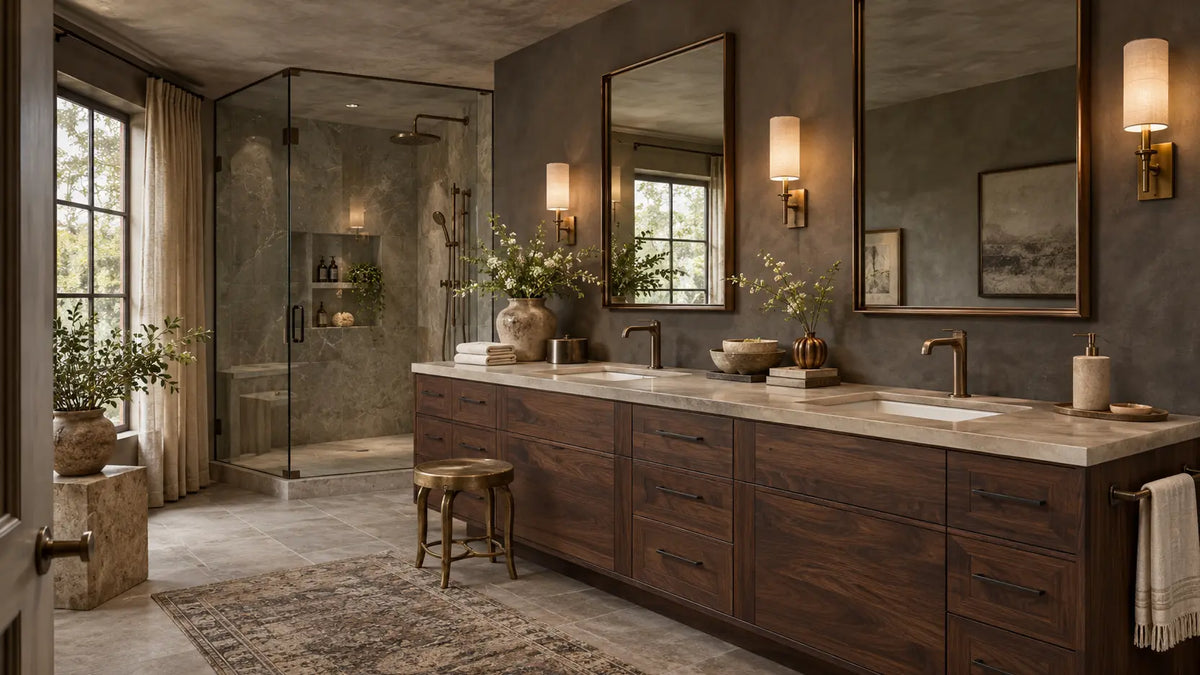
How to Plan a Primary Bathroom Around One Large Vanity
We'd plan a primary bathroom around one large bathroom vanity when its continuous counter and storage serve your routines without squeezing the entry, shower approach or open drawers. Choose separate stations when the room provides two genuinely independent approaches. Start with a sketch of the room in use, then match the selected cabinet and top to it. The finish comes after the routes, wash positions and storage openings work together.
The BathGem's Blueprint
We'd draw the bathroom with two people in it before buying the longest cabinet the wall can hold.
- Test the occupied room: Trace entry and shower doors, toilet access, open drawers and the delivery route. The useful vanity is the one that lets those paths work.
- Decide how water is used: Two people sharing a counter isn't proof they need two faucets. Spend the second basin's footprint only when morning routines overlap at the sink.
- Draw the assembled product: Use the actual top edges, basin centers, door and drawer positions, and finished dimensions before choosing mirrors or sconces.
Don't let nominal width settle sink spacing. In the specific Beckett tops compared below, the 84-inch configuration places its faucet centers closer together than the 72-inch version.
When a large bathroom vanity beats two separate stations

One primary bathroom vanity earns its space when a shared counter and storage wall are more useful than two independently approached wash stations. The question isn't whether a continuous top looks cleaner in a photograph. It's whether the room still works when somebody opens the shower door or reaches into a lower drawer.
Choose a continuous run for working counter space
A connected top can give towels, skincare, toothbrushes and hair tools places to land without an intentional break between cabinets. We'd sketch those objects beside the basins before shopping; counter space only earns its width when you can actually set something down there. Then mark the drawers someone may need while another person stands at the sink. A counter that photographs as generous can become a narrow strip of usable space once two basins and everyday belongings have their places.
As you compare bathroom vanity sizes, look at where the usable surface and storage actually fall instead of sorting only by advertised width. A drawer bank in the middle might work well for shared storage, but its position matters if one person's stance blocks its opening. The unit and top also have to travel through the delivery route, not merely fit along the finished wall.
Split the stations when the room gives each one a real approach
Two separate cabinets make sense when a doorway, shower entrance or turn in the wall naturally divides the room, or when the household needs distinct wash positions. Draw a person at each station and trace where someone else would walk behind them. If both routes pinch at the same door, two cabinets haven't created independent circulation. The gap between cabinets also needs to be reachable for cleaning rather than becoming a narrow dust trap.
For a useful starting benchmark, the National Kitchen & Bath Association's Bathroom Planning Guideline 4 recommends at least 30 inches of clear floor space in front of bathroom fixtures. The 2024 International Residential Code, Section P2705.1(5), specifies a minimum of 21 inches in front of a lavatory to a wall, fixture or door where that code is adopted. Those figures refer to closed fixture clearances, so a fully extended drawer and someone walking behind you may require more room; local codes and the actual door swing still govern the project.
One sink or two at 72 to 84 inches?

Sink count follows the routines at the wash area, not an automatic rule about cabinet width. Two people can share the counter, mirror and drawers without needing two faucets every minute they're there.
Give one basin the counter space when water use is staggered
We'd lean toward one basin when the household seldom needs two water points simultaneously and the extra landing area has an everyday job. One person might reach into a drawer or use hair tools at one end while the other is at the faucet. This is a counter-and-storage decision, not a claim that a single basin gives everyone enough elbow room. Trace the two routines separately before deciding what the sink count ought to be.
In three separate Reddit renovation discussions, homeowners describe rarely using two sinks at once, wanting more countertop, or having a second basin that sits unused. Other participants prefer two basins for their own shared-bath routines. These are individual reports from remodeling conversations, not a representative study or a reason to assume your mornings resemble theirs.
The James Martin Vanities Linear 72-inch Single Vanity in Mid-Century Walnut with Glossy White Integrated Top makes the trade-off tangible. BathGems lists its finished width at 72.5 inches and describes four doors, two shelves and three drawers beneath a composite-stone integrated basin. The size-class name doesn't give you the assembled width, and the extra surface around one basin is only useful if the cabinet and plumbing still serve your storage plan.
Choose two basins only when the overlapping tasks need them
Two basins earn their keep when both people regularly need water or separate sink access during the same part of the morning. Even then, measure the dry counter beside each bowl rather than counting the faucets. A second basin can eat the exact spot where someone would set down a hairbrush, shaving kit or clean towel. Check whether one person's stance would block the drawers intended for the other.
The Wyndham Collection Beckett TK 72-inch and 84-inch double vanities examined below both use two basins, but the basins don't occupy the same relative positions. A second faucet can't create two practical stations on its own; each person still needs a place to stand, set things down and open the storage they use.
Read the specific Beckett drawings before judging sink spacing

Two mirrors and two faucets may look evenly spaced in a bathroom photograph, but the manufacturer's top drawing is what tells you where the wash positions land. We'd use the photograph to judge proportion and the dimension chain to judge spacing.
Measure from the top's outside edges to the faucet centers
The Wyndham Collection Beckett TK 72-inch Double Vanity top drawing, for the Dark Oak cabinet with Matte-Black Trim and Carrara Cultured-Marble Top, shows 16 inches from the left outside edge to the first faucet center, 40 inches between centers and another 16 inches to the right edge. Its square undermount basins have one faucet hole each in this configuration. Those measurements describe the selected top, not every Beckett variant.
On the matched Beckett TK 84-inch Double Vanity cabinet-and-top drawings, the chain reads 24.5 inches, 35 inches and 24.5 inches. Across these two products, the countertop grows by 12 inches while the faucet centers move 5 inches closer together. Each outer-edge-to-center offset is 8.5 inches greater on the 84-inch top, so more width lands outside the two wash positions rather than between them.
The NKBA's Bathroom Planning Guideline 6 recommends at least 36 inches between the centerlines of two lavatories. The 2024 International Residential Code, Section P2705.1(5), sets 30 inches as its minimum between adjacent lavatories where adopted. The Beckett 72 drawing shows 40 inches, while the 84 shows 35 inches, one inch below the NKBA recommendation but above that code reference. These are planning benchmarks, not a determination of local code compliance or how two particular people will feel at the sinks.
Both Wyndham drawings state a measurement tolerance of ±¼ inch. The marked points are faucet centerlines, not distances between basin rims, drain rough-ins or standing positions, and the drawings don't display a printed revision date. We'd request the current drawing for the exact countertop and faucet-hole option instead of borrowing measurements from another size or finish.
If you want two wash positions with enough separation for your routines, compare the top drawings of 72-inch double-sink vanities before assuming a larger model puts the faucets farther apart. Start with the measured layout, then check whether the storage distribution helps the same two people.
Explore our 72 Inch Double Sink Vanity


Read the drawer arrangement beside the sink locations
The selected Beckett 72 has four functional doors and three functional drawers; the selected Beckett 84 has four functional doors and nine drawers. That difference tells you how Wyndham has distributed accessible fronts, but it doesn't establish the interior storage volume or open-drawer projection. A cabinet can gain six drawers and still place the compartment you need behind somebody else's stance.
Mark the sink stations and the doors or drawer banks serving each one, then locate the drain and supply zones on the cabinet drawing. Ask for drawer extension and interior clearances wherever plumbing or a nearby opening could interfere. The extra width only earns its place if the compartment you reach for every morning stays reachable.
Measure the finished envelope and everything that moves

A cabinet can fit against the wall while the top, hardware or an open front still interferes with the room. We wouldn't borrow a dimension from the wrong part of the assembly, especially in an alcove.
Keep top width, cabinet width, depth and height distinct
The Beckett 72 drawing labels 71 inches across the cabinet front but 72 inches across the countertop. The 84 drawing shows an 83-inch cabinet front below an 84-inch top. Both selected configurations are listed at 22 inches overall depth and 35 inches overall height, while their elevation drawings show 34¼ inches to the underside of the top. These numbers terminate at different surfaces, which matters beside casing, tile returns or a fixed wall outlet.
Mark the outermost countertop edges against the finished wall, then add the cabinet body, selected hardware and all fully opened fronts. A closed cabinet's depth doesn't tell you how far a drawer will project across the floor. The Beckett manufacturer sheets don't give every handle-tip and open-front clearance, so the installer needs to establish those using the actual hardware and cabinet.
There's another useful Linear detail on BathGems' product page: its recessed interior drawer is designed to open only halfway. That's a reminder to compare the reach into storage, not just the number of drawers. If the 72.5-inch assembled width doesn't clear your opening, we'd choose a different measured single-sink unit rather than assume the size-class label can be rounded down.
Explore our Single Sink Bathroom Vanities


Test moving paths and the route into the room
Test the vanity with doors closed and then rehearse the room in use. Draw the entry door, shower door, toilet approach and linen cabinet with the relevant drawers fully extended. A drawer that clears the wall but blocks the shower route will become an everyday negotiation. See what happens when one person stands at the basin while the other needs to pass.
The delivery route needs a separate sketch through the narrowest doorway, stair turn and staging area. Confirm whether the countertop arrives attached or separately packaged and have the delivery team or installer assess the path. A qualified plumber should also check rough-in locations and service access against the chosen cabinet, and the project's qualified professionals must verify applicable local rules. Product drawings alone aren't a mounting approval or an installation guarantee.
Plan mirrors and lighting around the wash positions

Choose the top before drawing the mirror and lighting elevation. A mirror that looks centered over a long cabinet can still sit awkwardly relative to the person using one of its basins.
One broad mirror or two focused mirrors?
We'd choose one broad mirror where the wall is uninterrupted and both wash positions, or one central sink and its surrounding work zones, benefit from a shared reflection. Two mirrors can clarify the individual wash positions and make room for separate medicine cabinets, but the frames and cabinet doors need clearance to operate. Transfer the selected basin/faucet centers to a wall sketch before choosing mirror widths. Then add faucet profiles, mirror edges and the swing of any medicine-cabinet doors.
The hidden compromise is often storage, not mirror style. A medicine cabinet that gains wall storage may also change where a sconce can go or how a door opens beside a fixture. We wouldn't commit to a symmetrical wall drawing until the chosen cabinet and top settle those relationships.
Light the faces, then confirm the fixtures and electrical plan
Light placed simply to fill empty wall space can leave the working positions poorly served. Kichler says downlights shouldn't be the primary bathroom light because they leave shadows on the face. It recommends sconces for grooming and layers of lighting in larger bathrooms. We'd test the light at each wash position rather than repeating fixtures to satisfy a decorative spacing formula.
For a wide mirror, test how side and over-mirror fixtures will serve each position. For two mirrors, check whether each wash area receives usable task light before repeating a sconce layout for symmetry. Bring the actual mirror, faucet and fixture dimensions to your designer and qualified electrician before finalizing locations. The existing electrical layout and applicable project requirements may change the solution; an older illustration's mounting heights aren't universal comfort dimensions or current law.
Test black and white finishes against the room's actual light

A long cabinet creates a large field of color below the mirror, so a small finish sample deserves more attention than it might on a compact vanity. Look at the cabinet, countertop, floor, grout and metal finishes together under daylight and the intended task lighting.
Black: see how much dark surface the room can carry
A dark cabinet can ground pale tile, but its effect depends on the light and the material next to it. Before choosing a black bathroom vanity, hold the cabinet finish beside the floor and countertop, then compare the faucet and pull finishes in the same view. Compare the physical samples under the room's actual light before settling the full vanity wall.
The exact Beckett examples used for the drawing comparison have dark-oak cabinets with matte-black trim, not solid-black cabinets. That's an important visual distinction across a 72-inch or 84-inch front. We'd keep the material description precise instead of letting a dark product photograph replace it.
White: make the whites agree before ordering
White cabinetry can read quiet against pale tile, but a cabinet finish, grout and countertop that look similar separately may show competing undertones together. Before choosing a white vanity, compare those samples under window light and the proposed sconces. We'd choose the group that works as one room, not approve each white in isolation.
The verified Linear single-sink example has mid-century walnut cabinetry and a glossy white composite-stone top. It's not a white cabinet, and the selected Beckett's cultured-marble top isn't quarried Carrara marble. Cabinet finish and countertop material are separate facts that need separate care checks.
James Martin's wood-care guidance says abrasive cleansers and scouring pads can remove the finish. Wyndham's furniture-care guidance says abrasives may damage the finish, and its warranty says normal wear and tear, including scratched or chipped counters, is not covered. Those are manufacturer-specific cautions, not evidence that damage is inevitable or that the warranty guarantees any particular outcome. Check the care document that applies to your exact cabinet and top.
Close the specification gaps before ordering

Before ordering, make sure the documents describe the particular cabinet-and-top assembly you intend to buy, with no critical conflict hidden in the plan.
Use this short document check before committing:
- Identify the assembly. Record the complete product name, selected countertop, basin shape, faucet-hole option and any separately supplied components.
- Get dimension endpoints. Confirm the assembled top's outer width and depth, cabinet dimensions, finished height and any backsplash or hardware projection that could affect fit. Keep drawing tolerances attached to the figures.
- Request the moving-part details. Locate drawer banks and doors, and establish how far they open where a doorway, shower or user might interfere.
- Resolve any contradiction. For the Linear single-sink example, the published finished depth and height conflict. Ask for current written clarification instead of assuming the cabinet-only page resolves the complete unit.
- Coordinate the wall. Match basin and faucet locations to mirror, medicine-cabinet and fixture plans; have the appropriate qualified professionals review plumbing, electrical, service access and project-specific requirements.
- Check arrival and care. Confirm the delivery and assembly route, inspect the care guidance for the actual finishes, and keep the relevant warranty terms with the purchase documents.
Before ordering, put the exact product name, finished dimensions and open-front paths on the same room sketch. Leave any unresolved fit or compatibility detail clearly marked, including the Linear depth and height discrepancy if you're considering that model. Once those checks are settled, use our double-sink vanity planning guide to finish the mirror, sconce and outlet plan around the actual wash positions.
Frequently Asked Questions

Todd Harmon
For a long primary-bath vanity, the telling details are where the top ends, where the sinks sit and what happens when the lower storage opens. Those choices shape how the room feels during an ordinary morning. With over two decades in e-commerce and product curation, Todd built BathGems on a simple idea: a bathroom should feel as collected and considered as the rest of the home. He sources every vanity and fixture in the BathGems catalog the way a designer pulls samples, weighing material, proportion, finish quality, and how a piece actually lives in a real room over time.
 Pick BathGems as a preferred source and Google will show you more of our design guides in Top Stories and AI results. Takes one tap while signed in to Google.